


Description
Why We Built This Quick Release System
You know what we hate? The time and hassle of bolting a splitter onto the car after it comes off the trailer. You know what we hate even more? Crawling back underneath to remove it again.
That frustration led us to build a universal quick release splitter system that makes the splitter fast to install and remove once the car-side and splitter-side mounts are in place. No tools are needed for normal removal or reinstallation. Guide the receiver pins into the latches, make sure both latches are fully engaged, and the splitter is back on the car.
The system is strong, adjustable, and adaptable to a wide range of race cars. It is also genuinely universal, which means the installer gets the freedom and responsibility of designing the chassis attachment, release method, and additional splitter support around the loads and packaging of the individual car.
The Cliff Notes
- Remove and reinstall the splitter without tools after the system is installed.
- Adjustable aluminum chassis mounts make splitter height and latch alignment easier to dial in.
- Regular and Large receivers provide different packaging, ground-clearance, and load-distribution options.
- Operate the release levers directly or design a remote release using cables or pull rods.
- Add at least one separate rigid support that prevents the splitter from rotating in either direction.
How the Quick Release System Goes Together
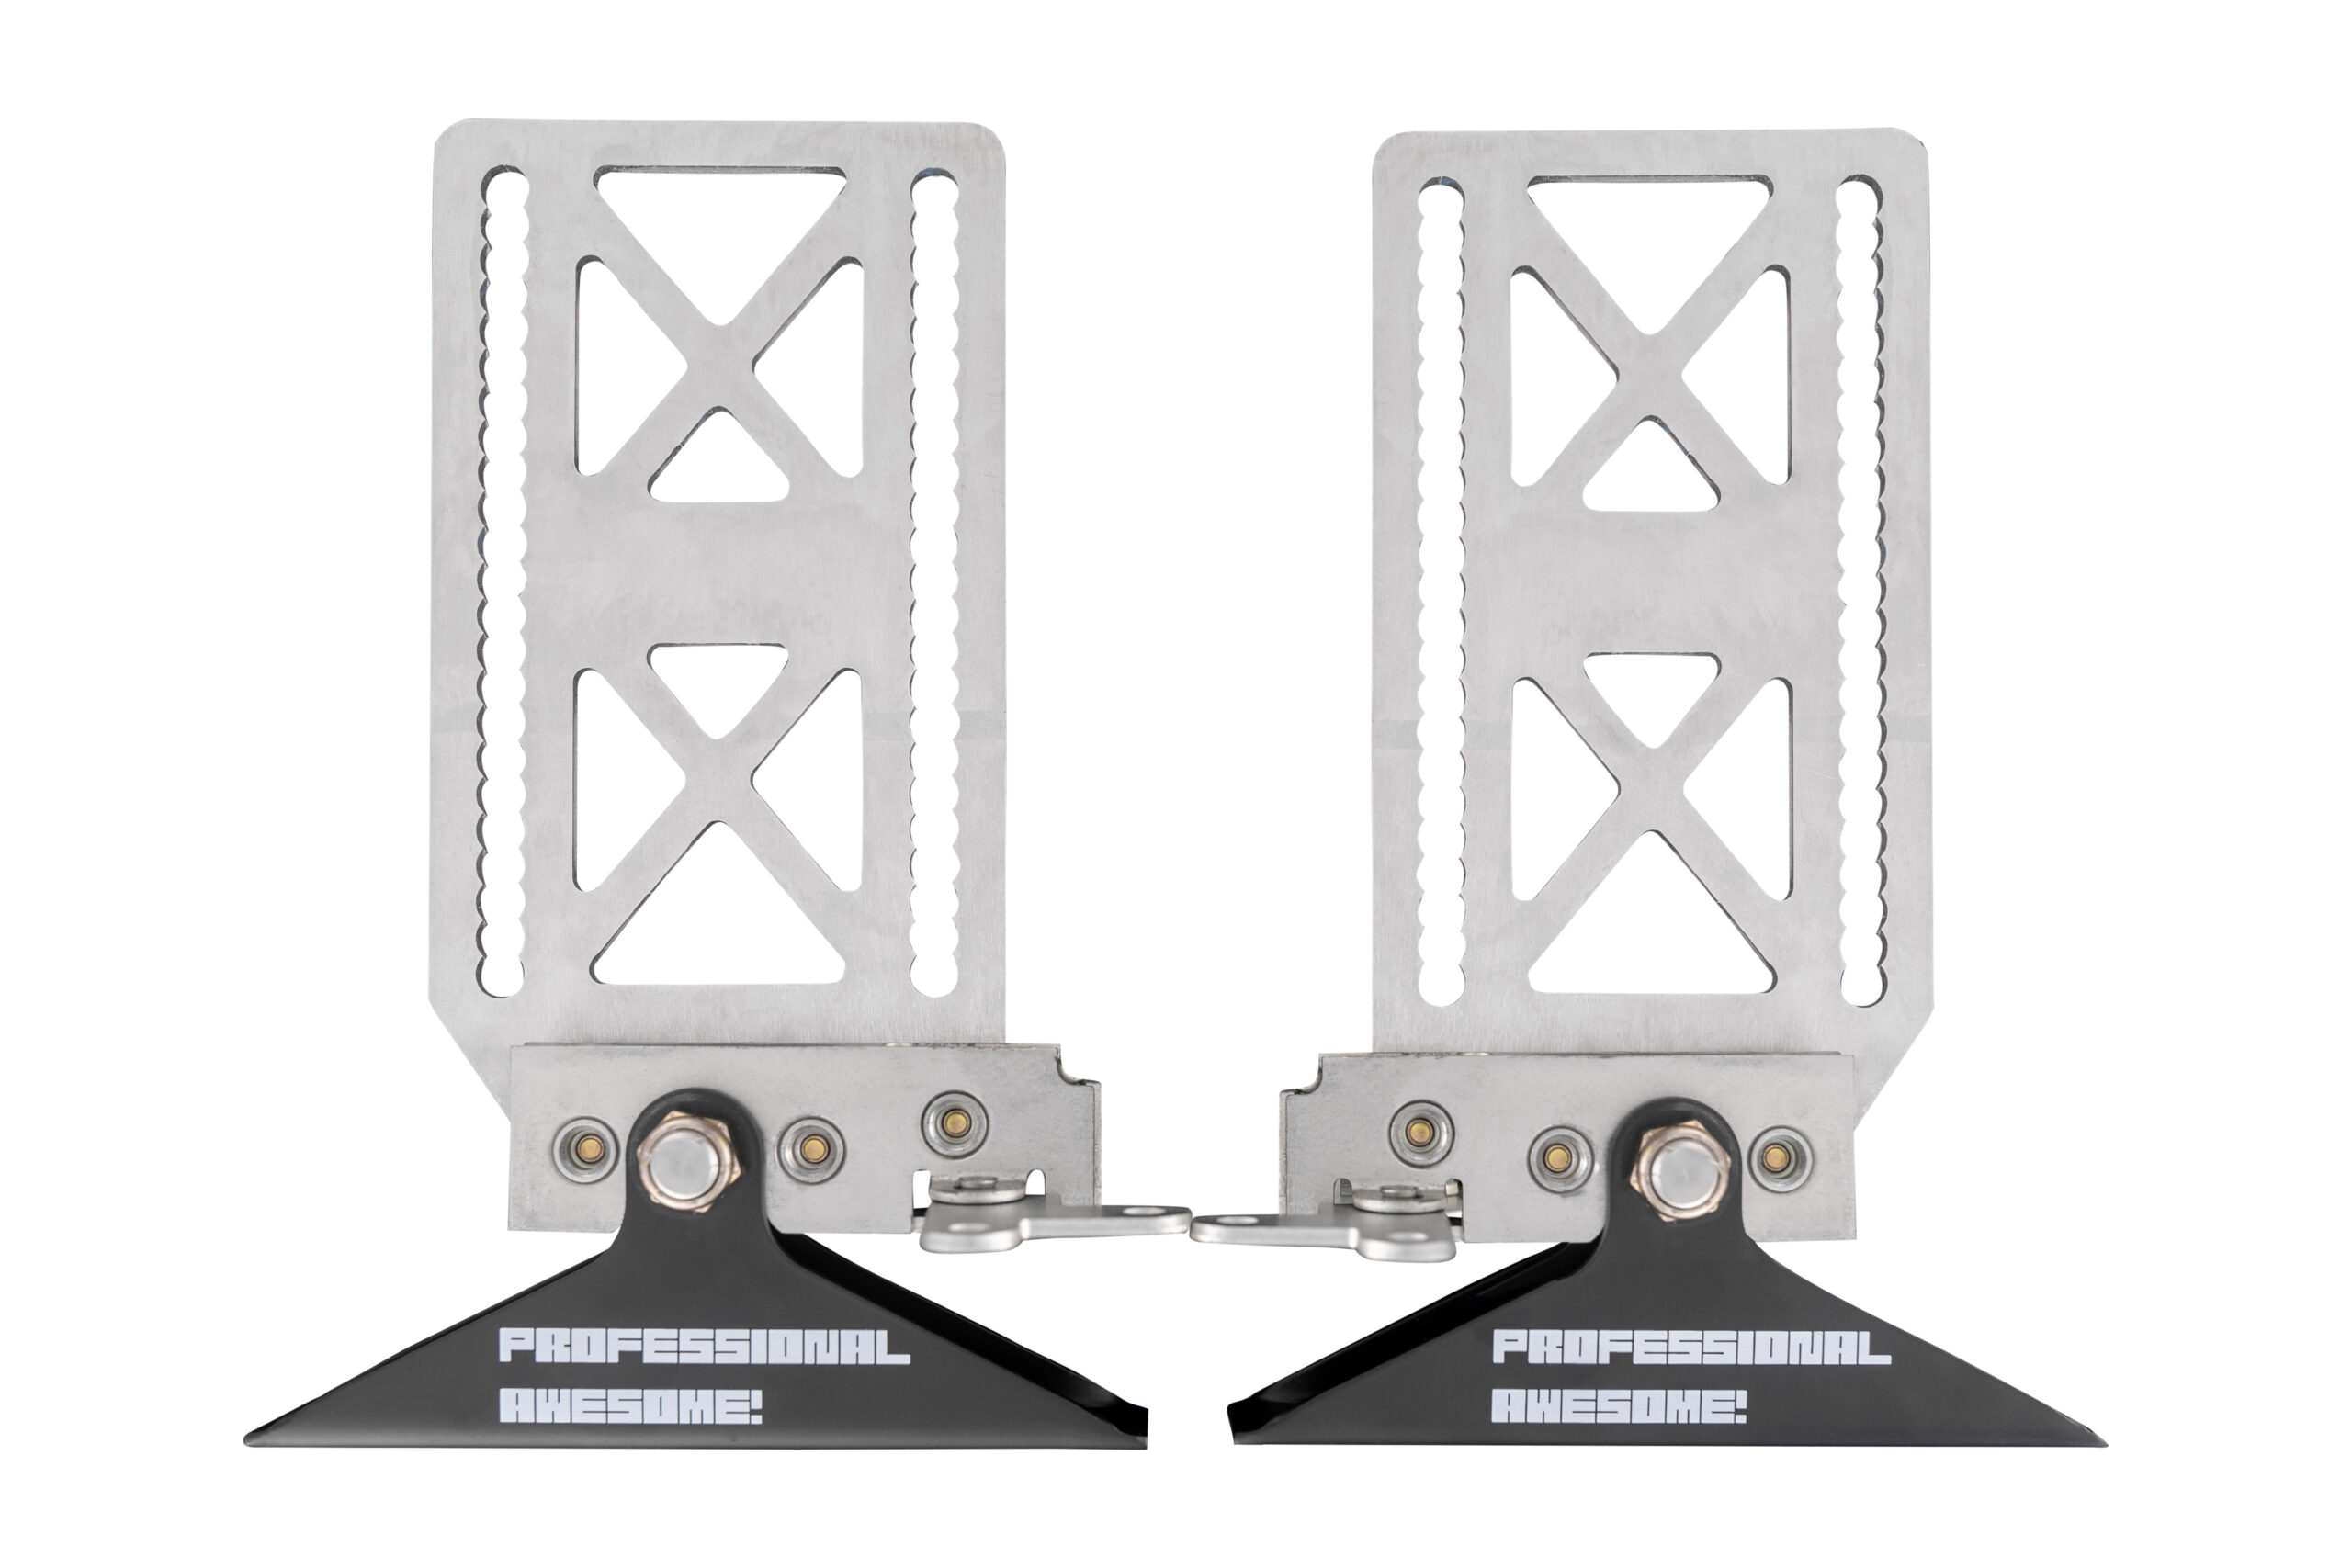
The option names make more sense once you can picture the complete connection. Starting at the car and working toward the splitter blade, here is how the system goes together.
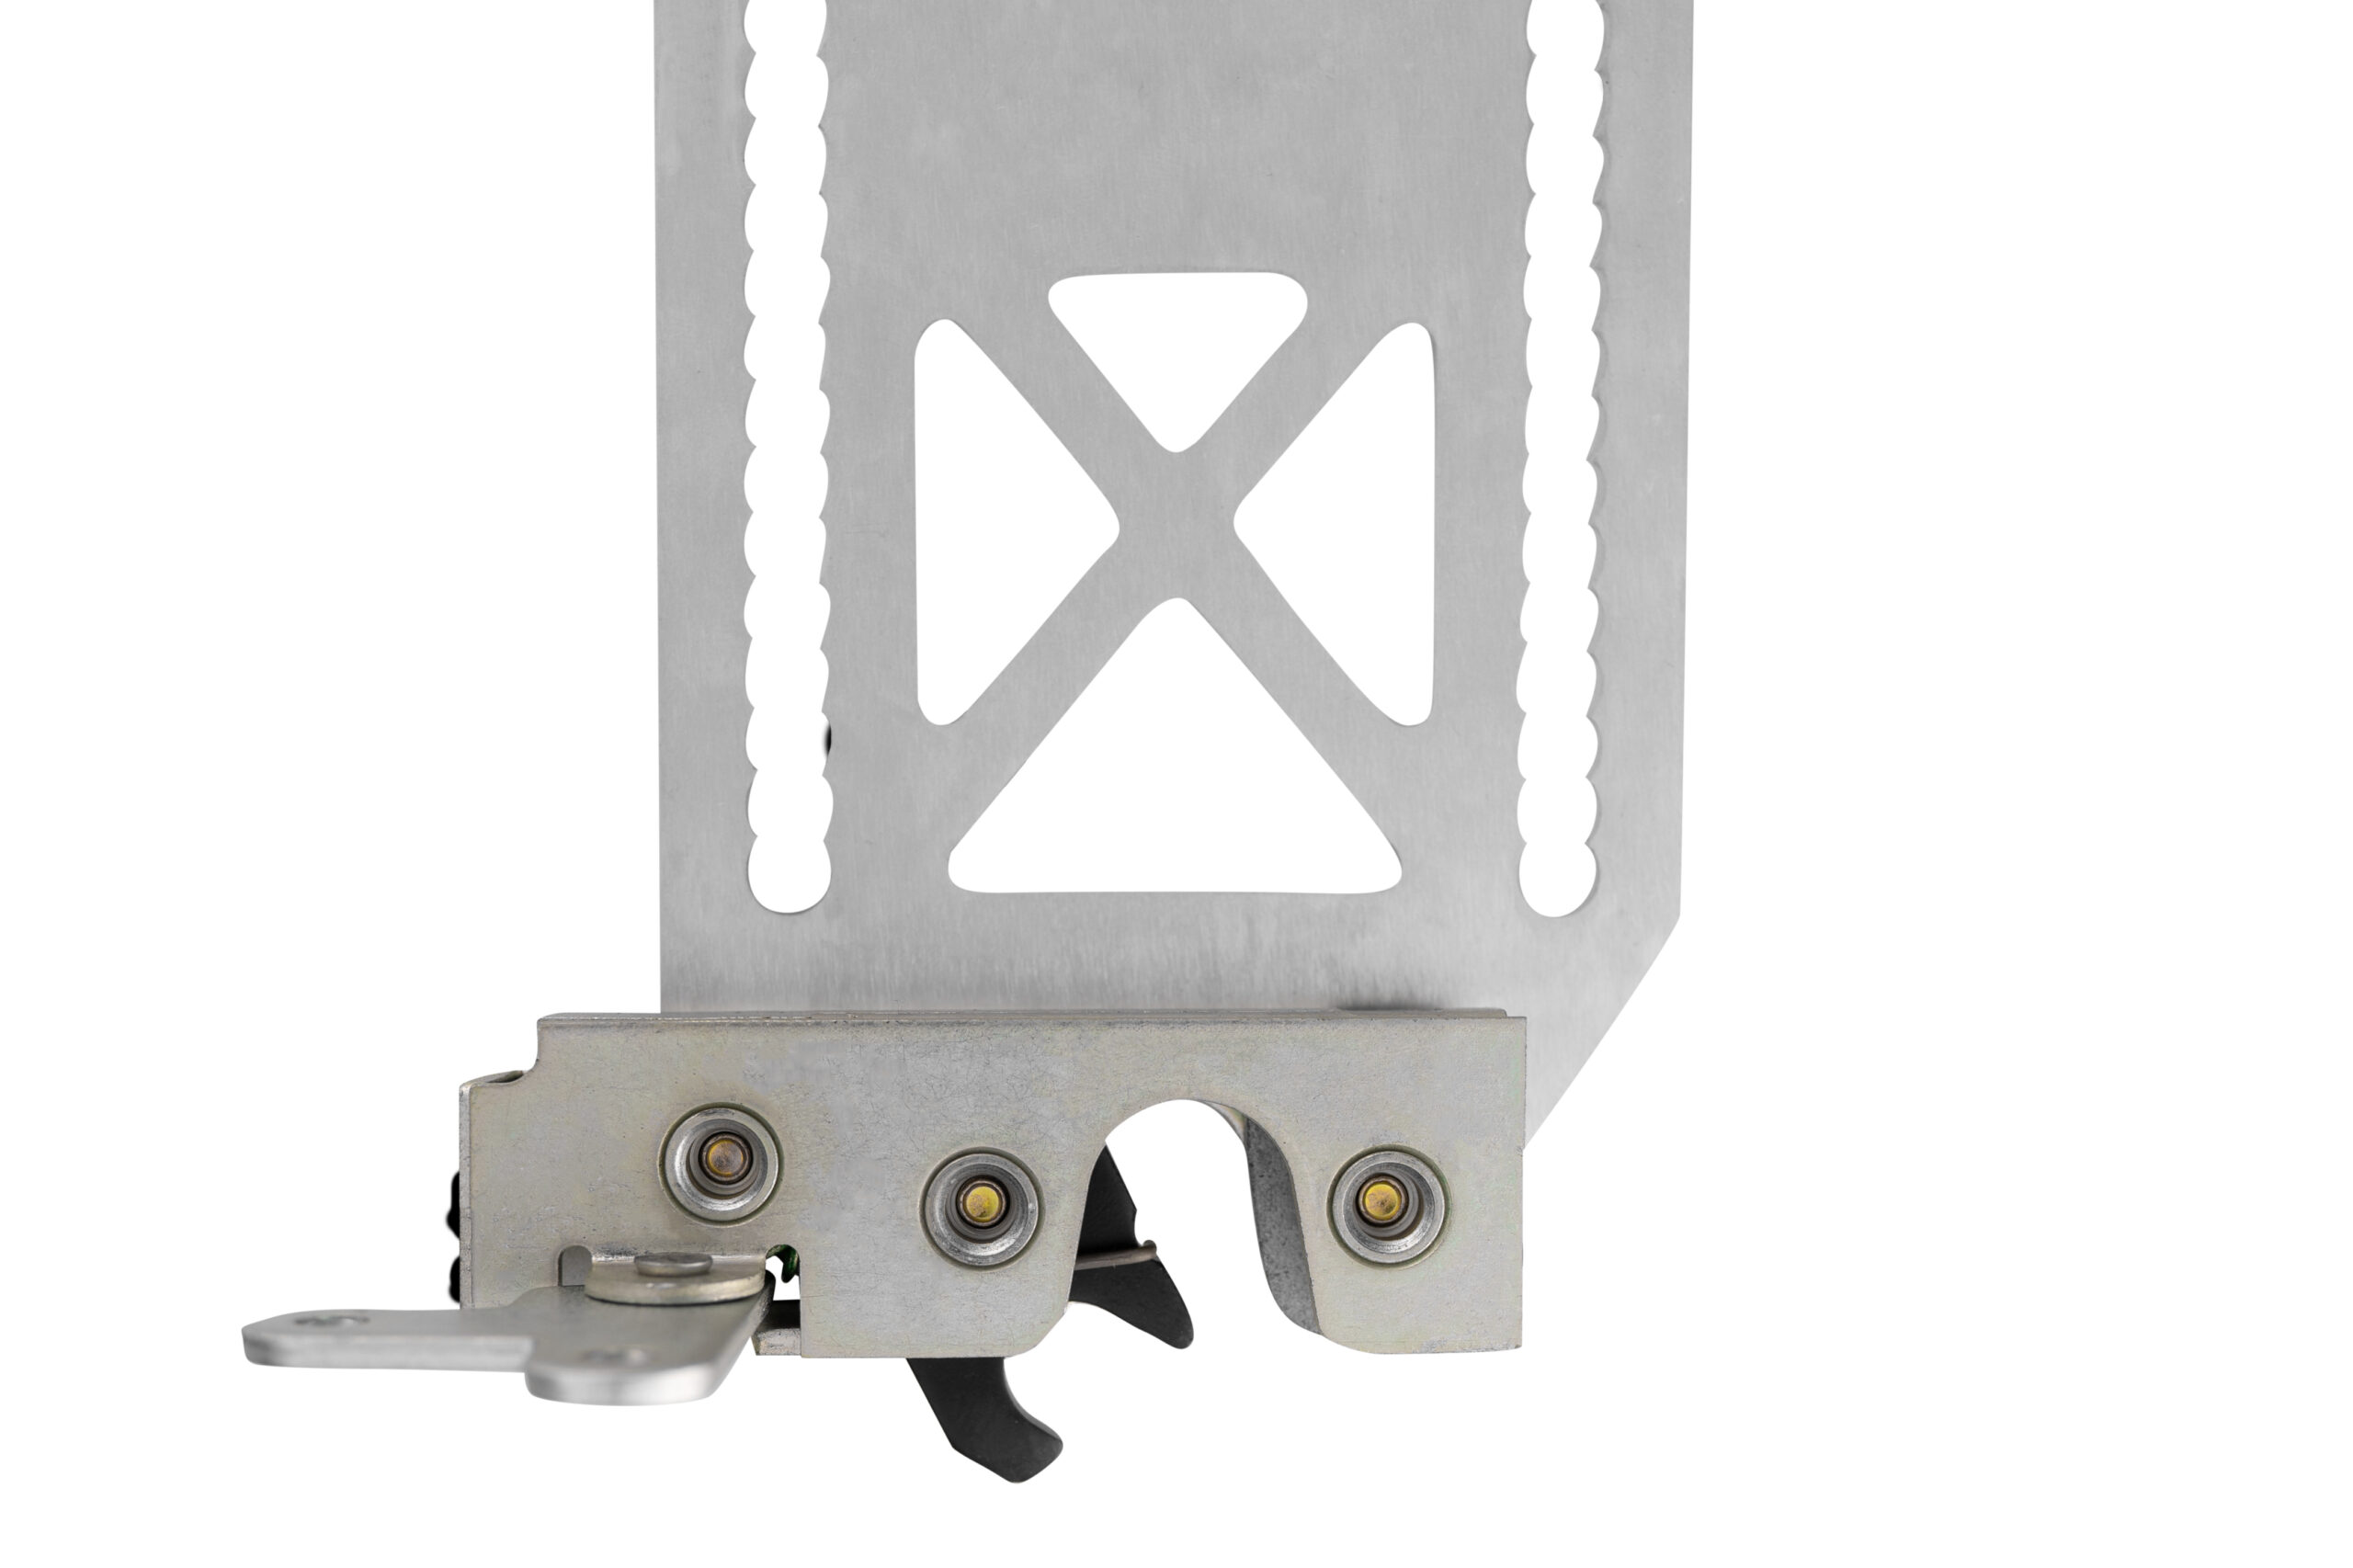
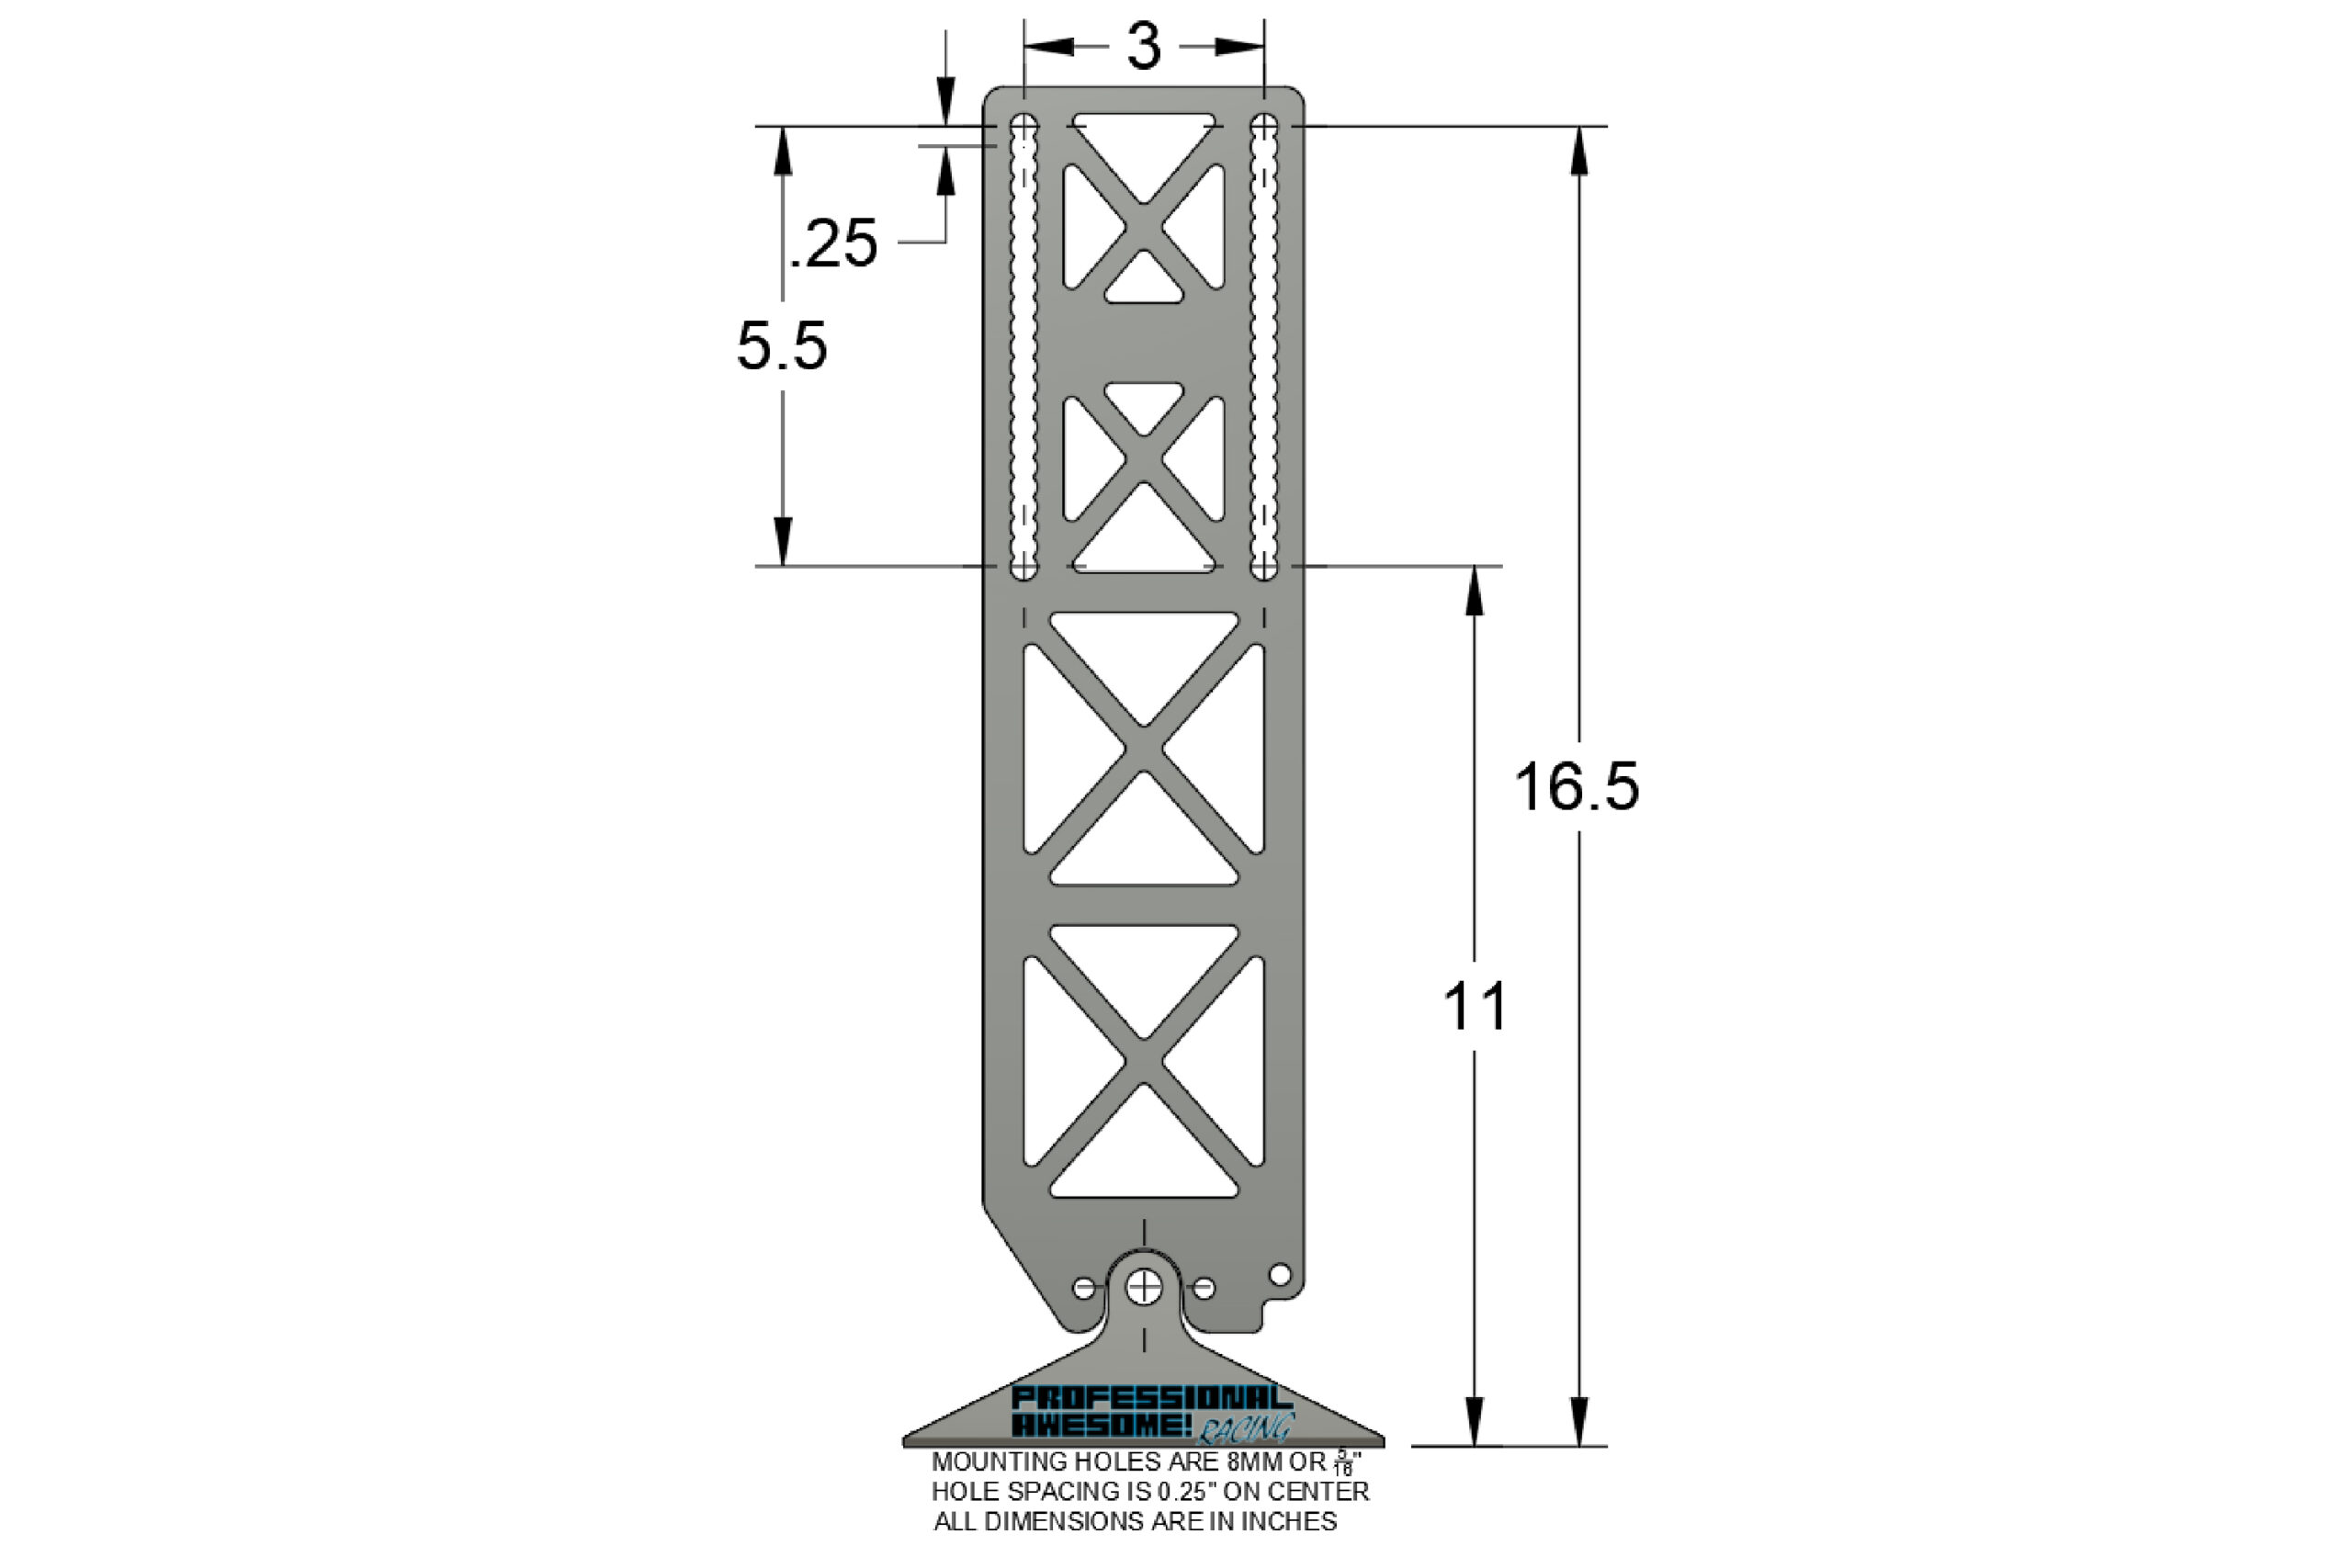
- Mount the aluminum plates to the chassis or frame rails. Rows of M8-sized holes provide chassis attachment locations, while the long slots allow the latch position to be adjusted vertically.
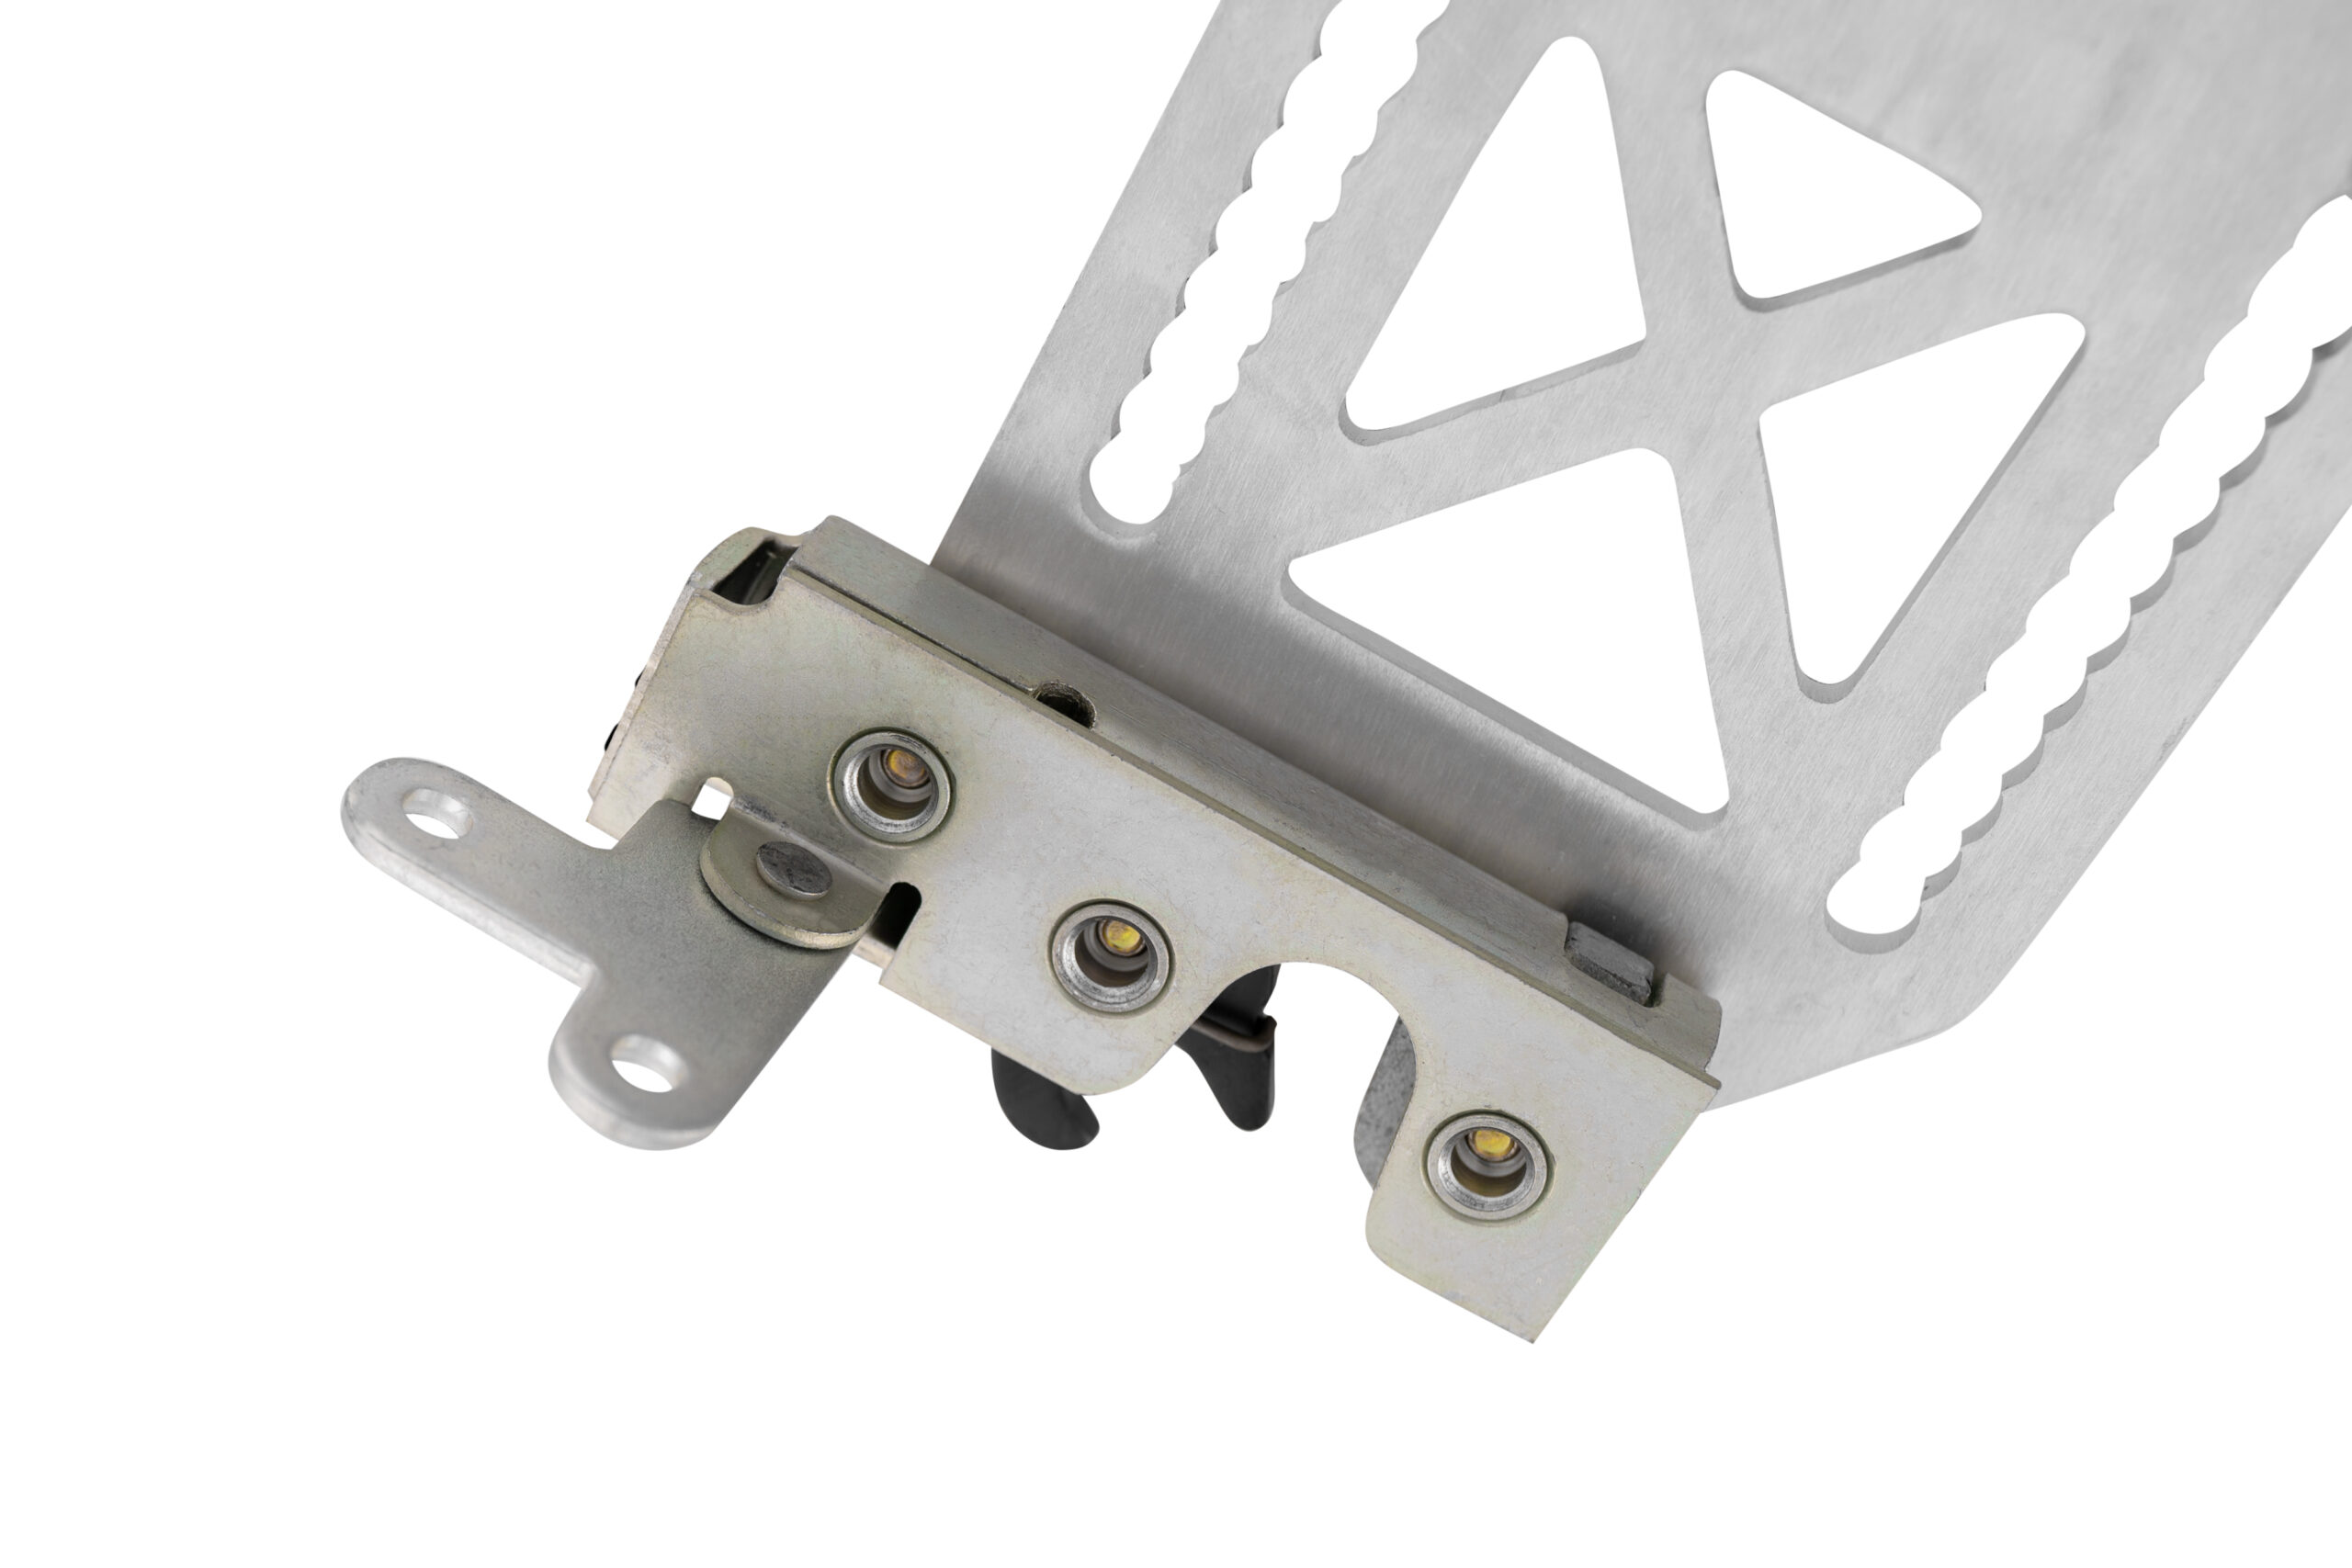
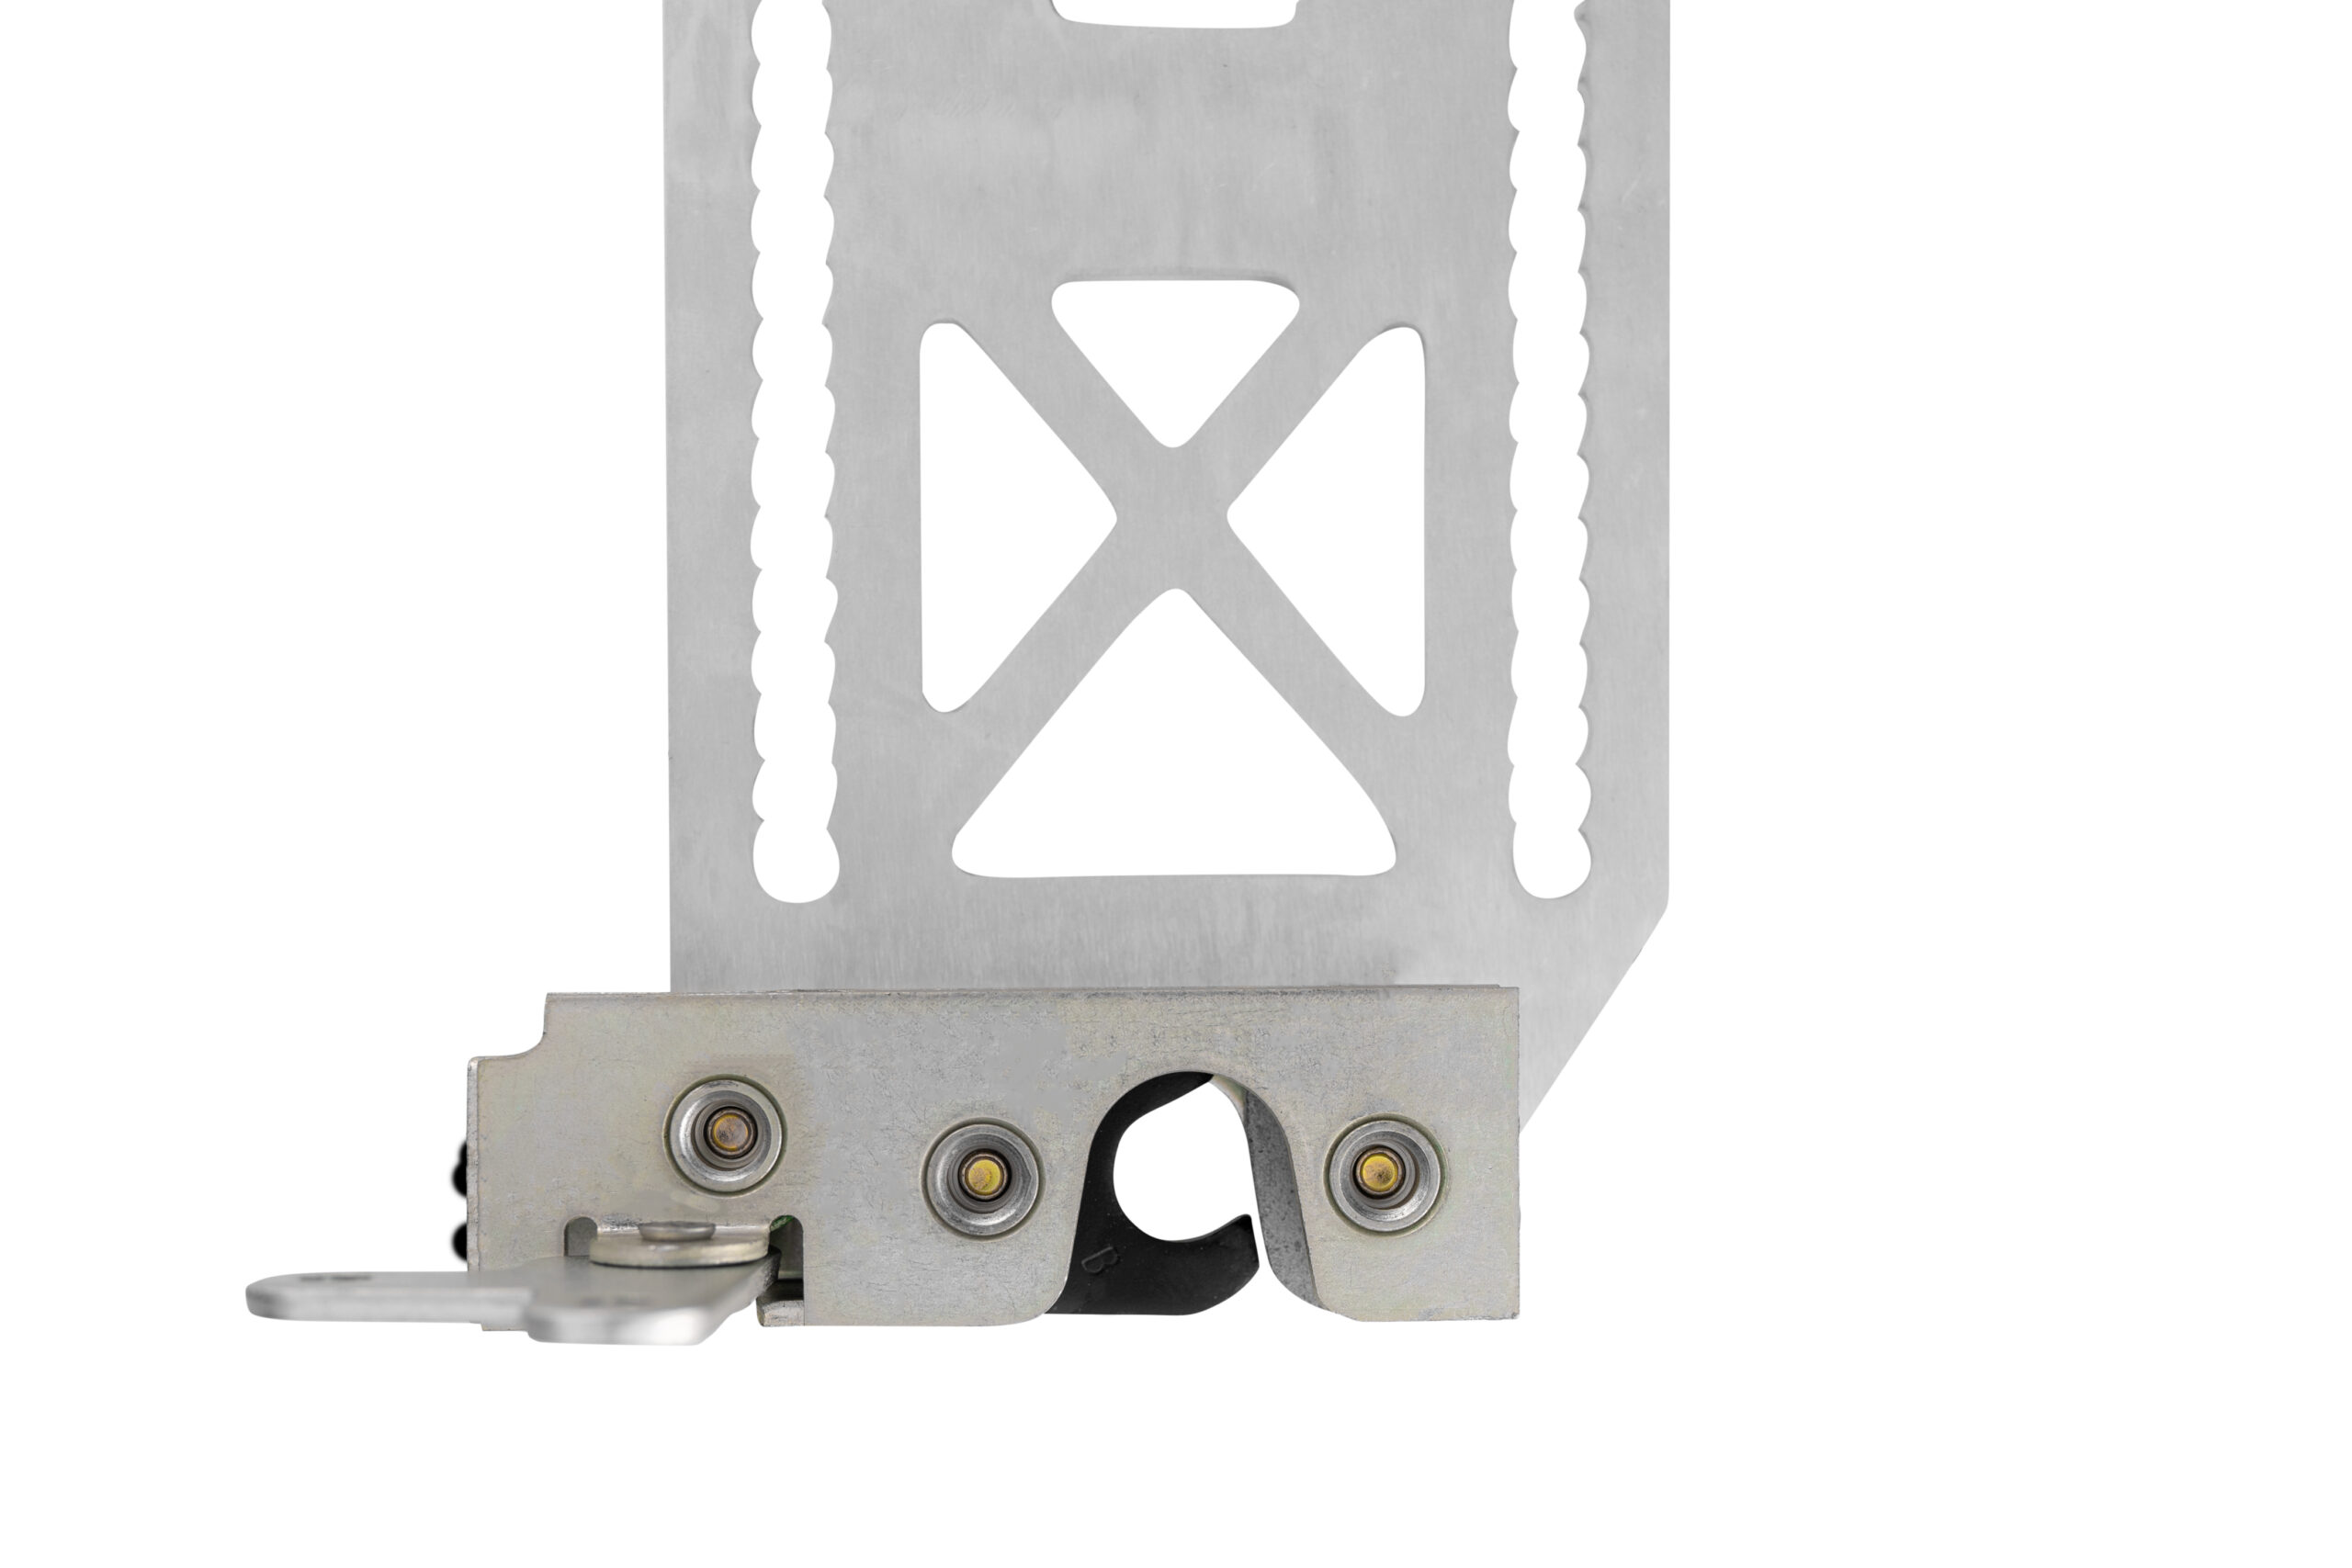
- Attach the left and right latches to the aluminum mounts. Position each latch along the slots to establish splitter height and align it with its receiver.
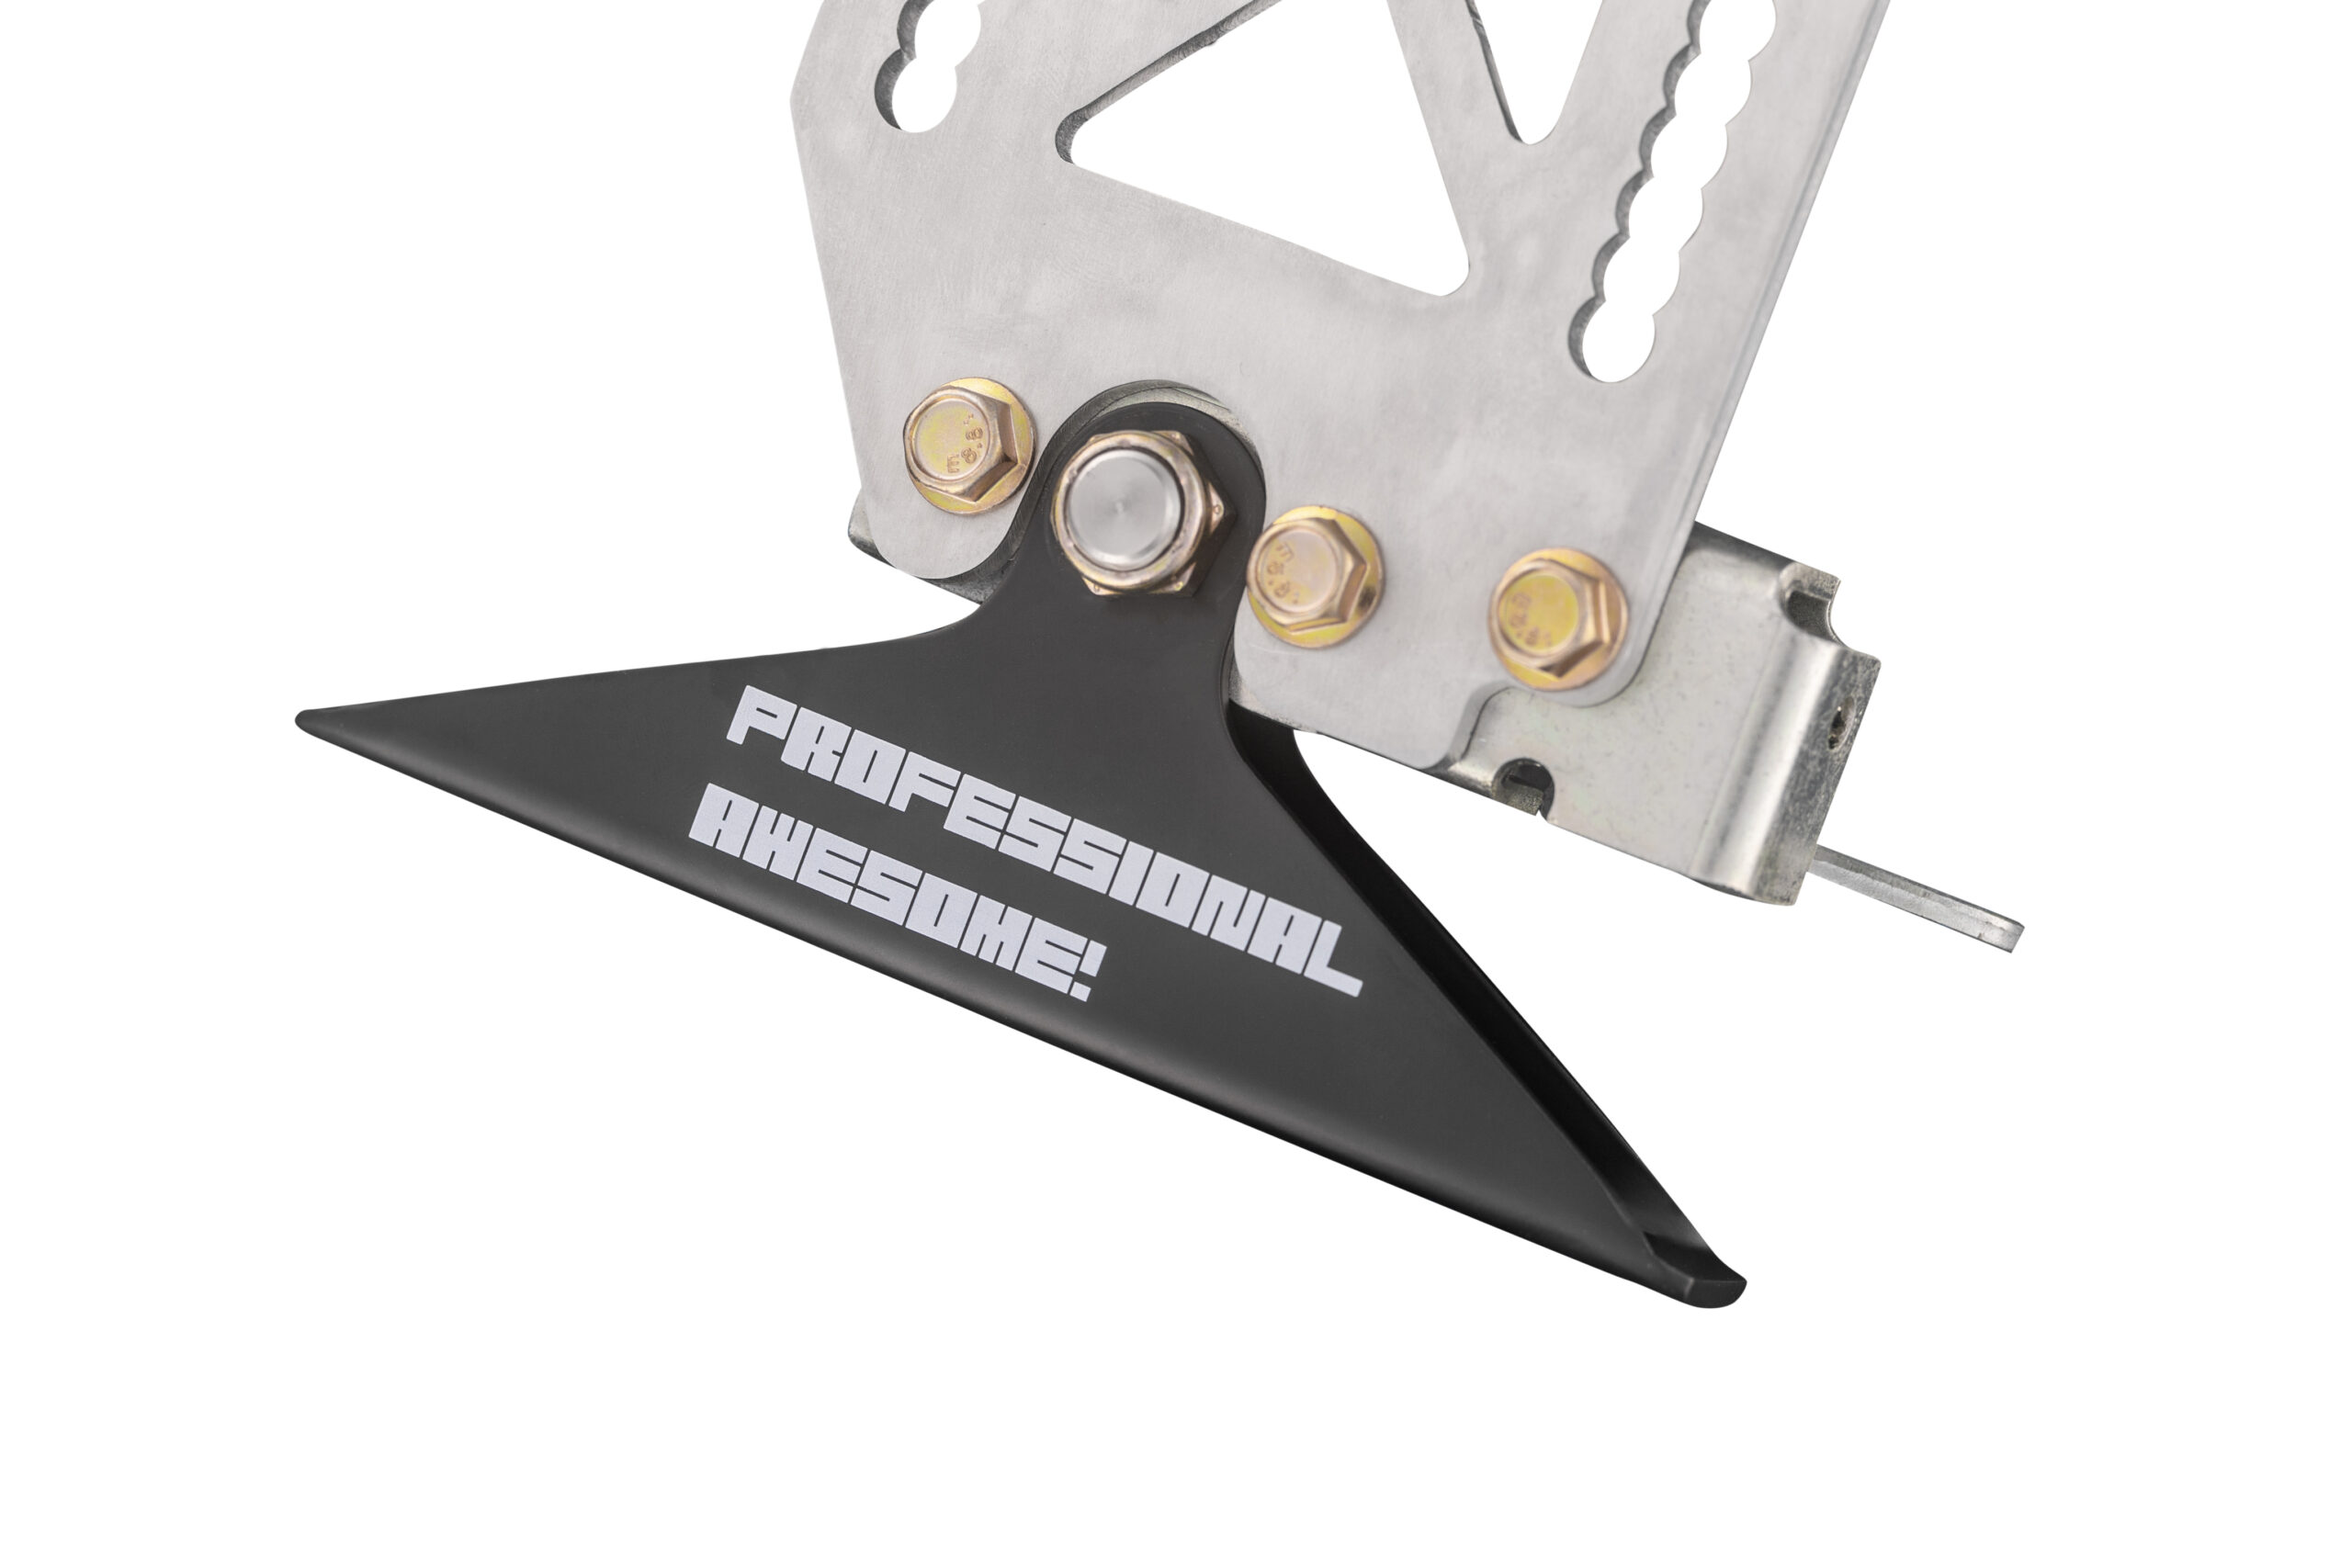
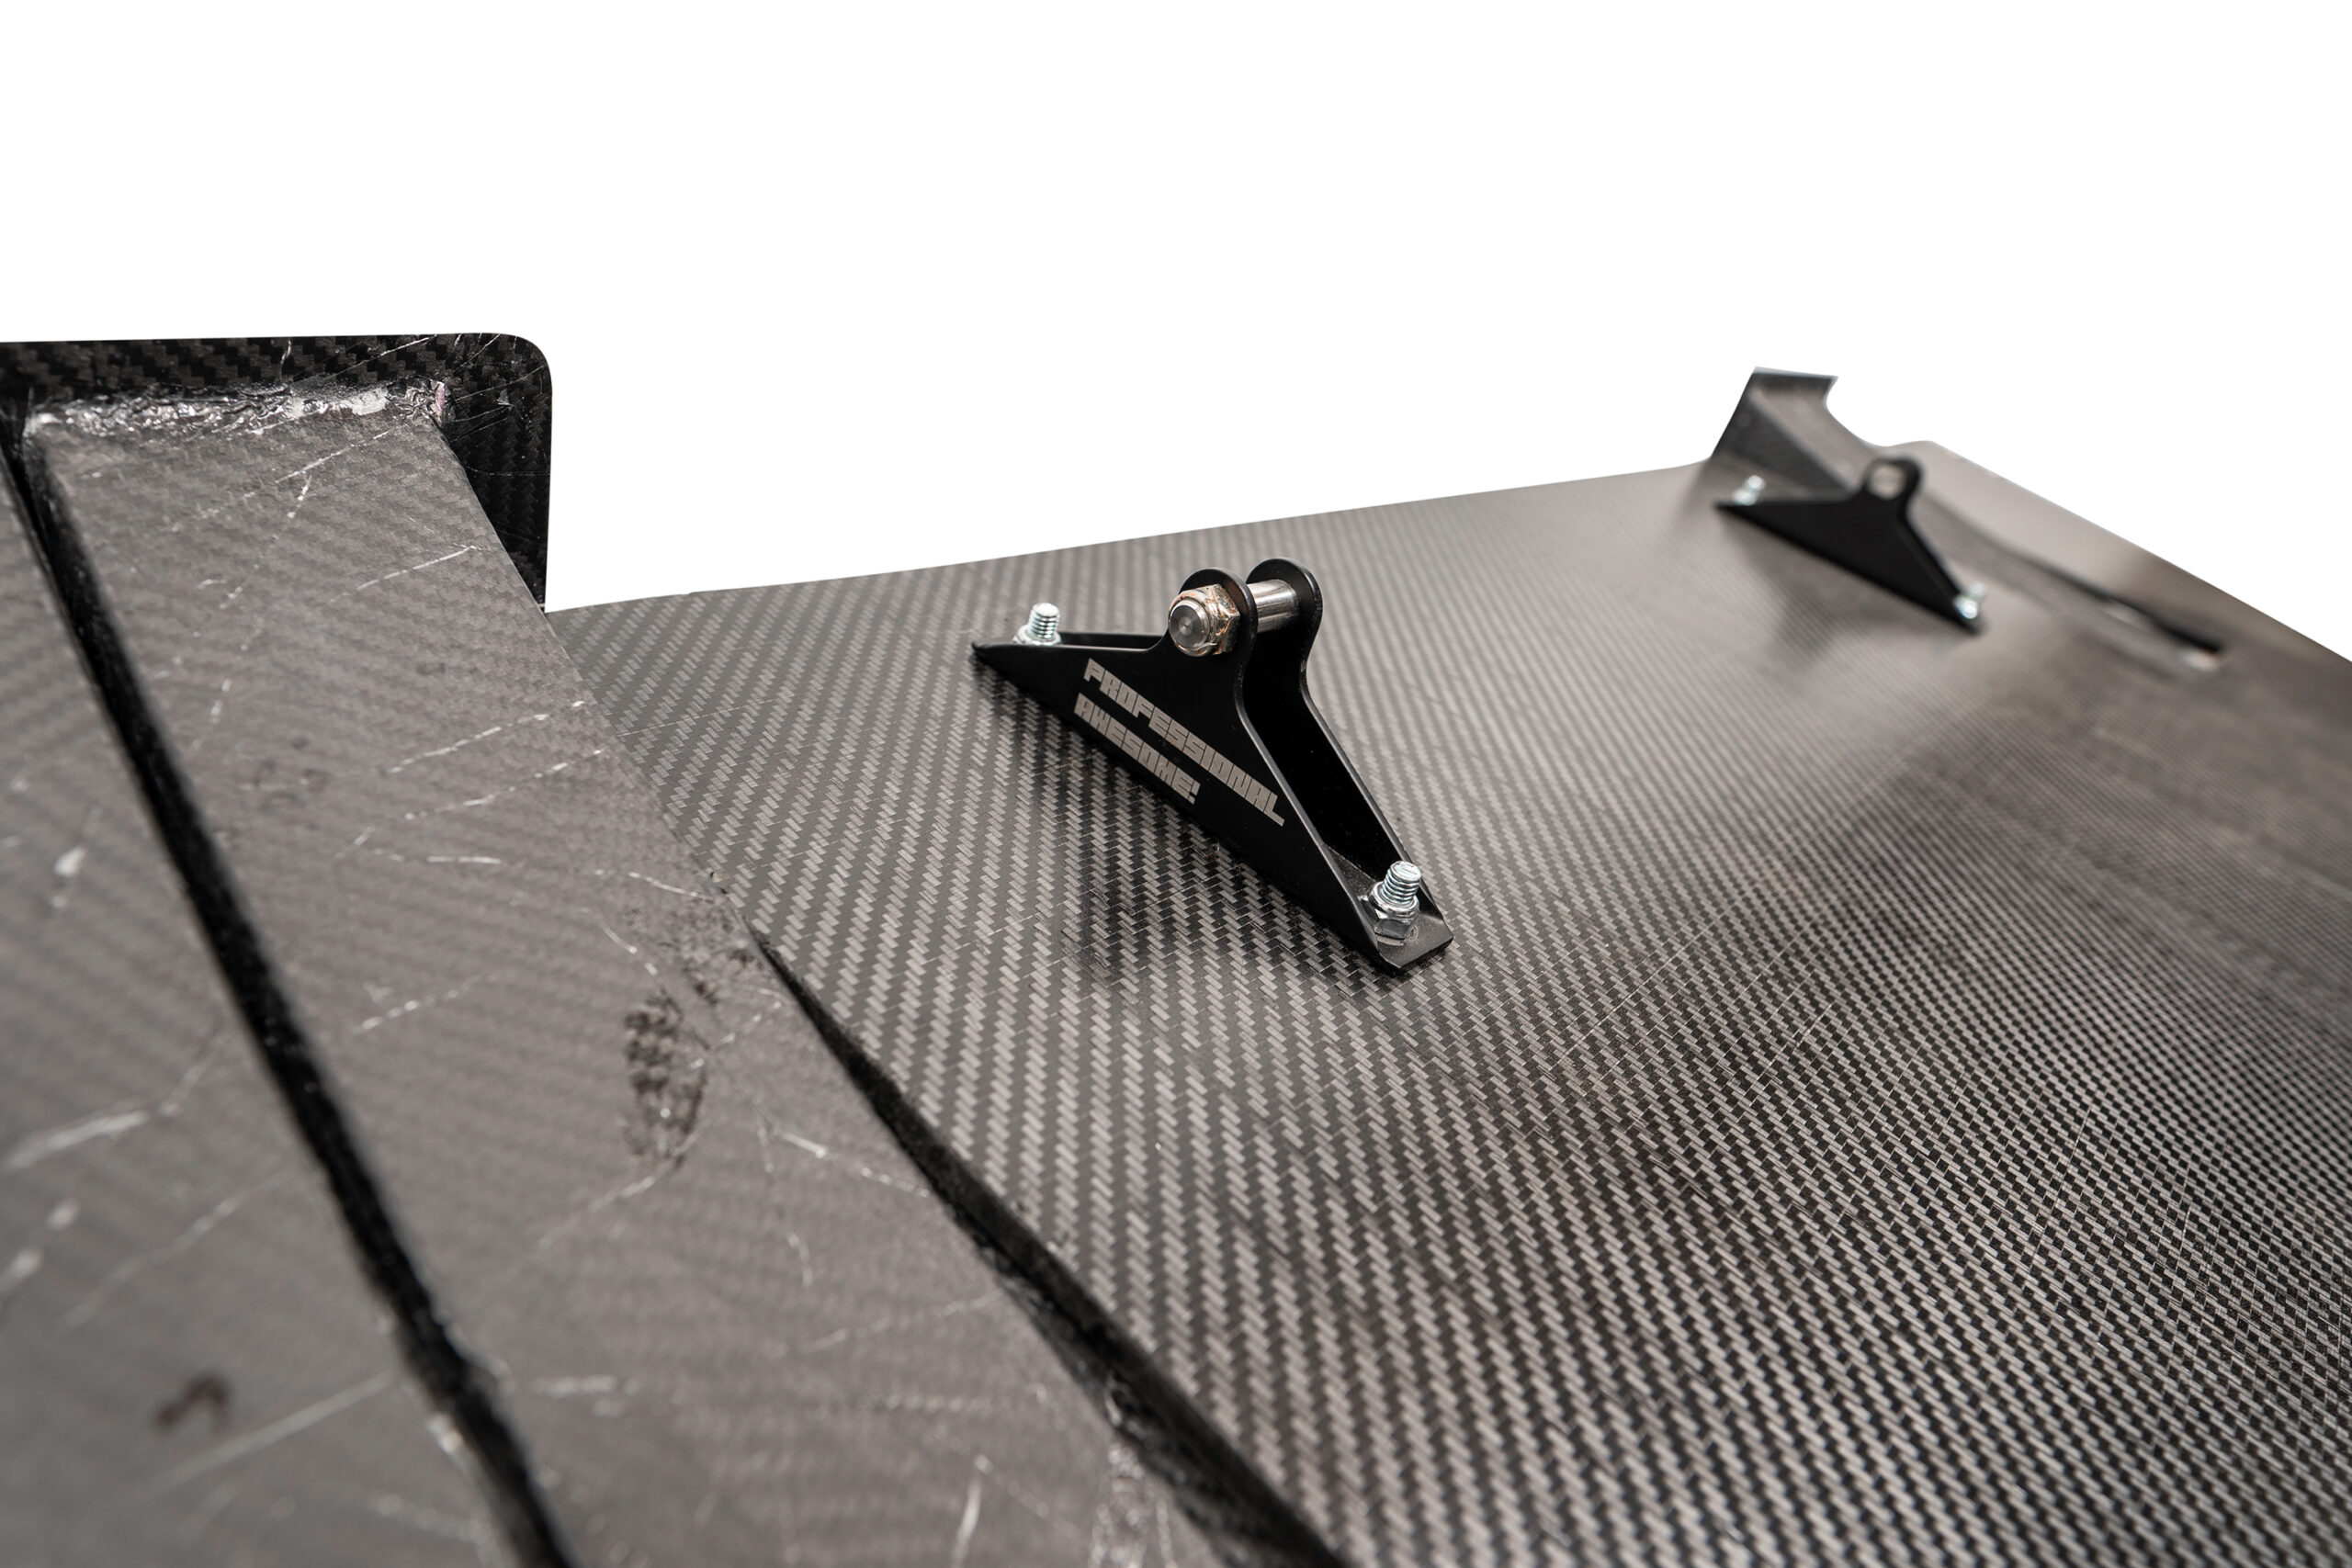
- Attach the receivers to the splitter blade. Each receiver includes a stainless steel pin that engages its corresponding latch on the car.
- Slide the splitter into place. Guide both receiver pins into the latches and confirm that both sides are fully engaged.
- Pull the latch release levers to remove the splitter. Operate the levers directly or connect them to customer-designed cables or pull rods when remote access is preferred.

Important system requirement: The receiver pins allow the splitter to rotate relative to the latches. At least one additional rigid mounting system is required to control that rotation in both directions. We highly recommend our Splitter Support Rods, but a properly designed custom mount or another manufacturer’s rigid support can also perform this job.
Is the Universal System Right for Your Car?
A universal kit gives you more freedom, but it also asks more of the installer. This system is a good fit when you are comfortable locating structural chassis mounting points, measuring and drilling accurately, selecting appropriate fasteners, and designing the rest of the splitter support system. Some fabrication or vehicle-specific brackets may be needed.
We also offer vehicle-specific quick release systems for selected applications. If your car is covered, compare that solution with the Universal system before choosing.
The latch manufacturer rates each latch to resist opening under loads upwards of 700 lb. This is a rating for the latch itself, not a load rating for the completed splitter installation. The capacity of the finished system depends on the chassis mounting points, fasteners, receiver installation, splitter material, support geometry, direction of loading, aerodynamic forces, and track impacts.
Choose Your Configuration
Your configuration comes down to five choices: mount length, receiver size, whether the splitter needs spreader plates, receiver mounting hardware, and whether you need 90-degree adapters for under-frame-rail mounting.
1. Start With the Mount Length
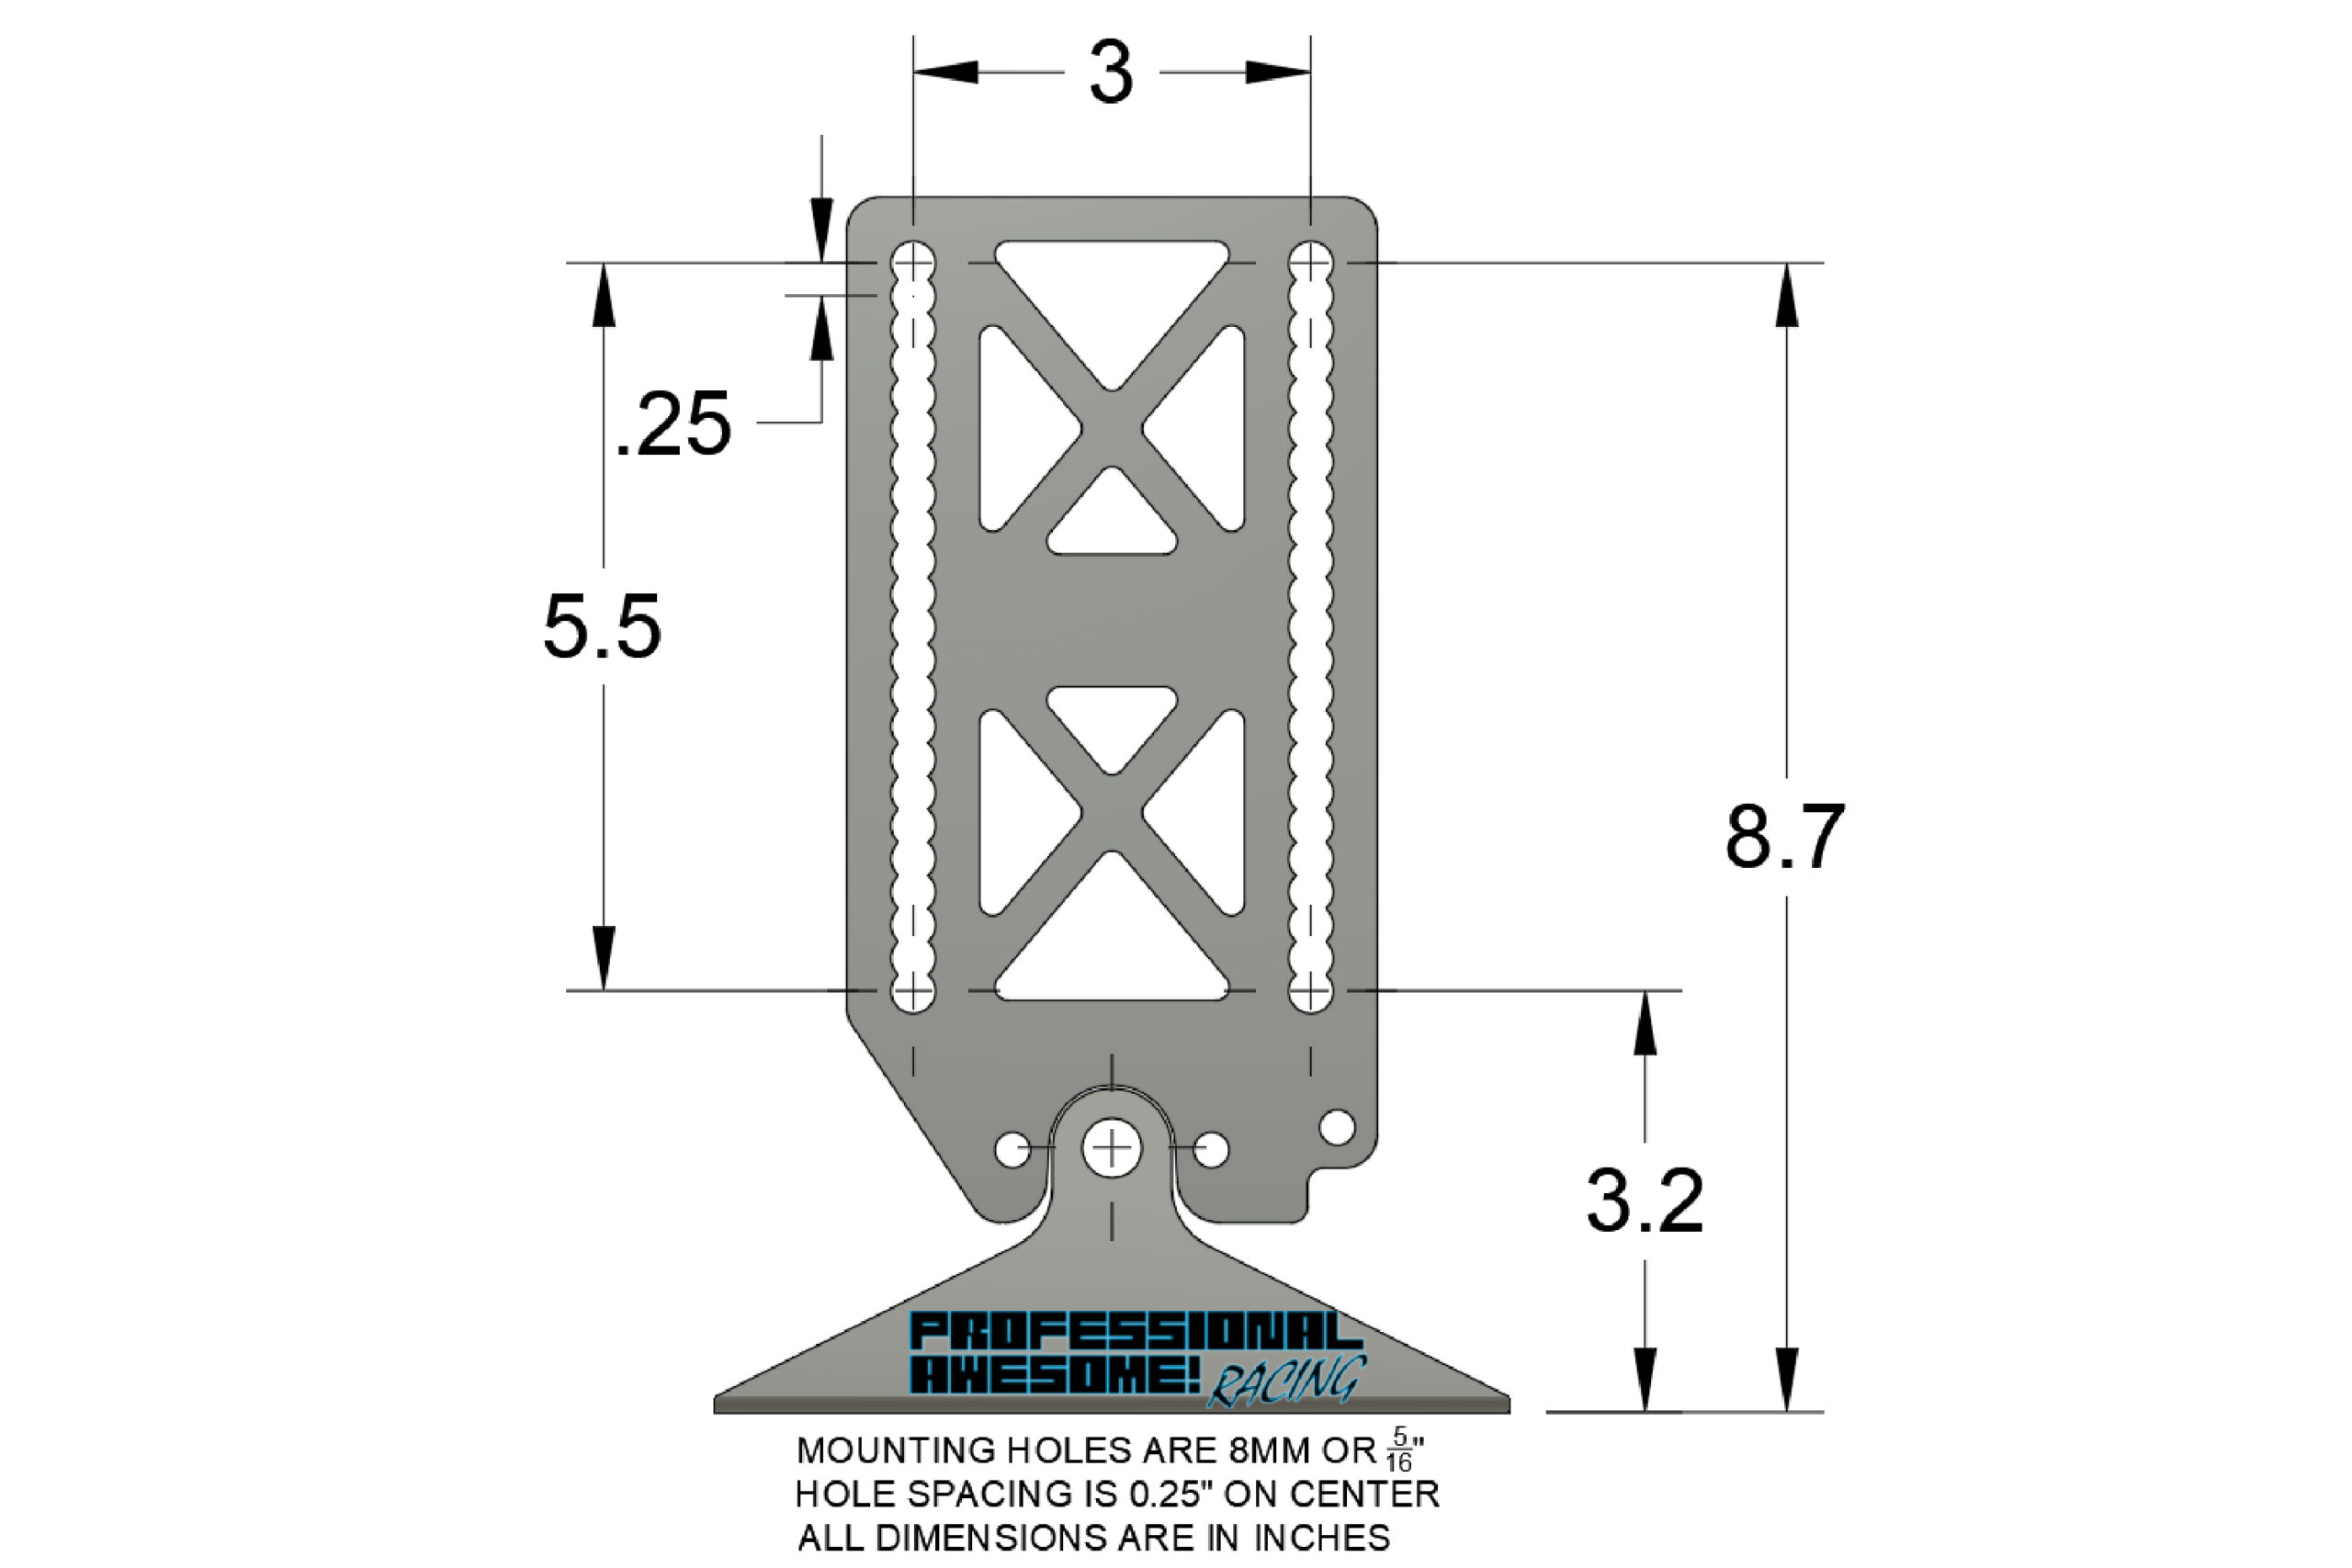
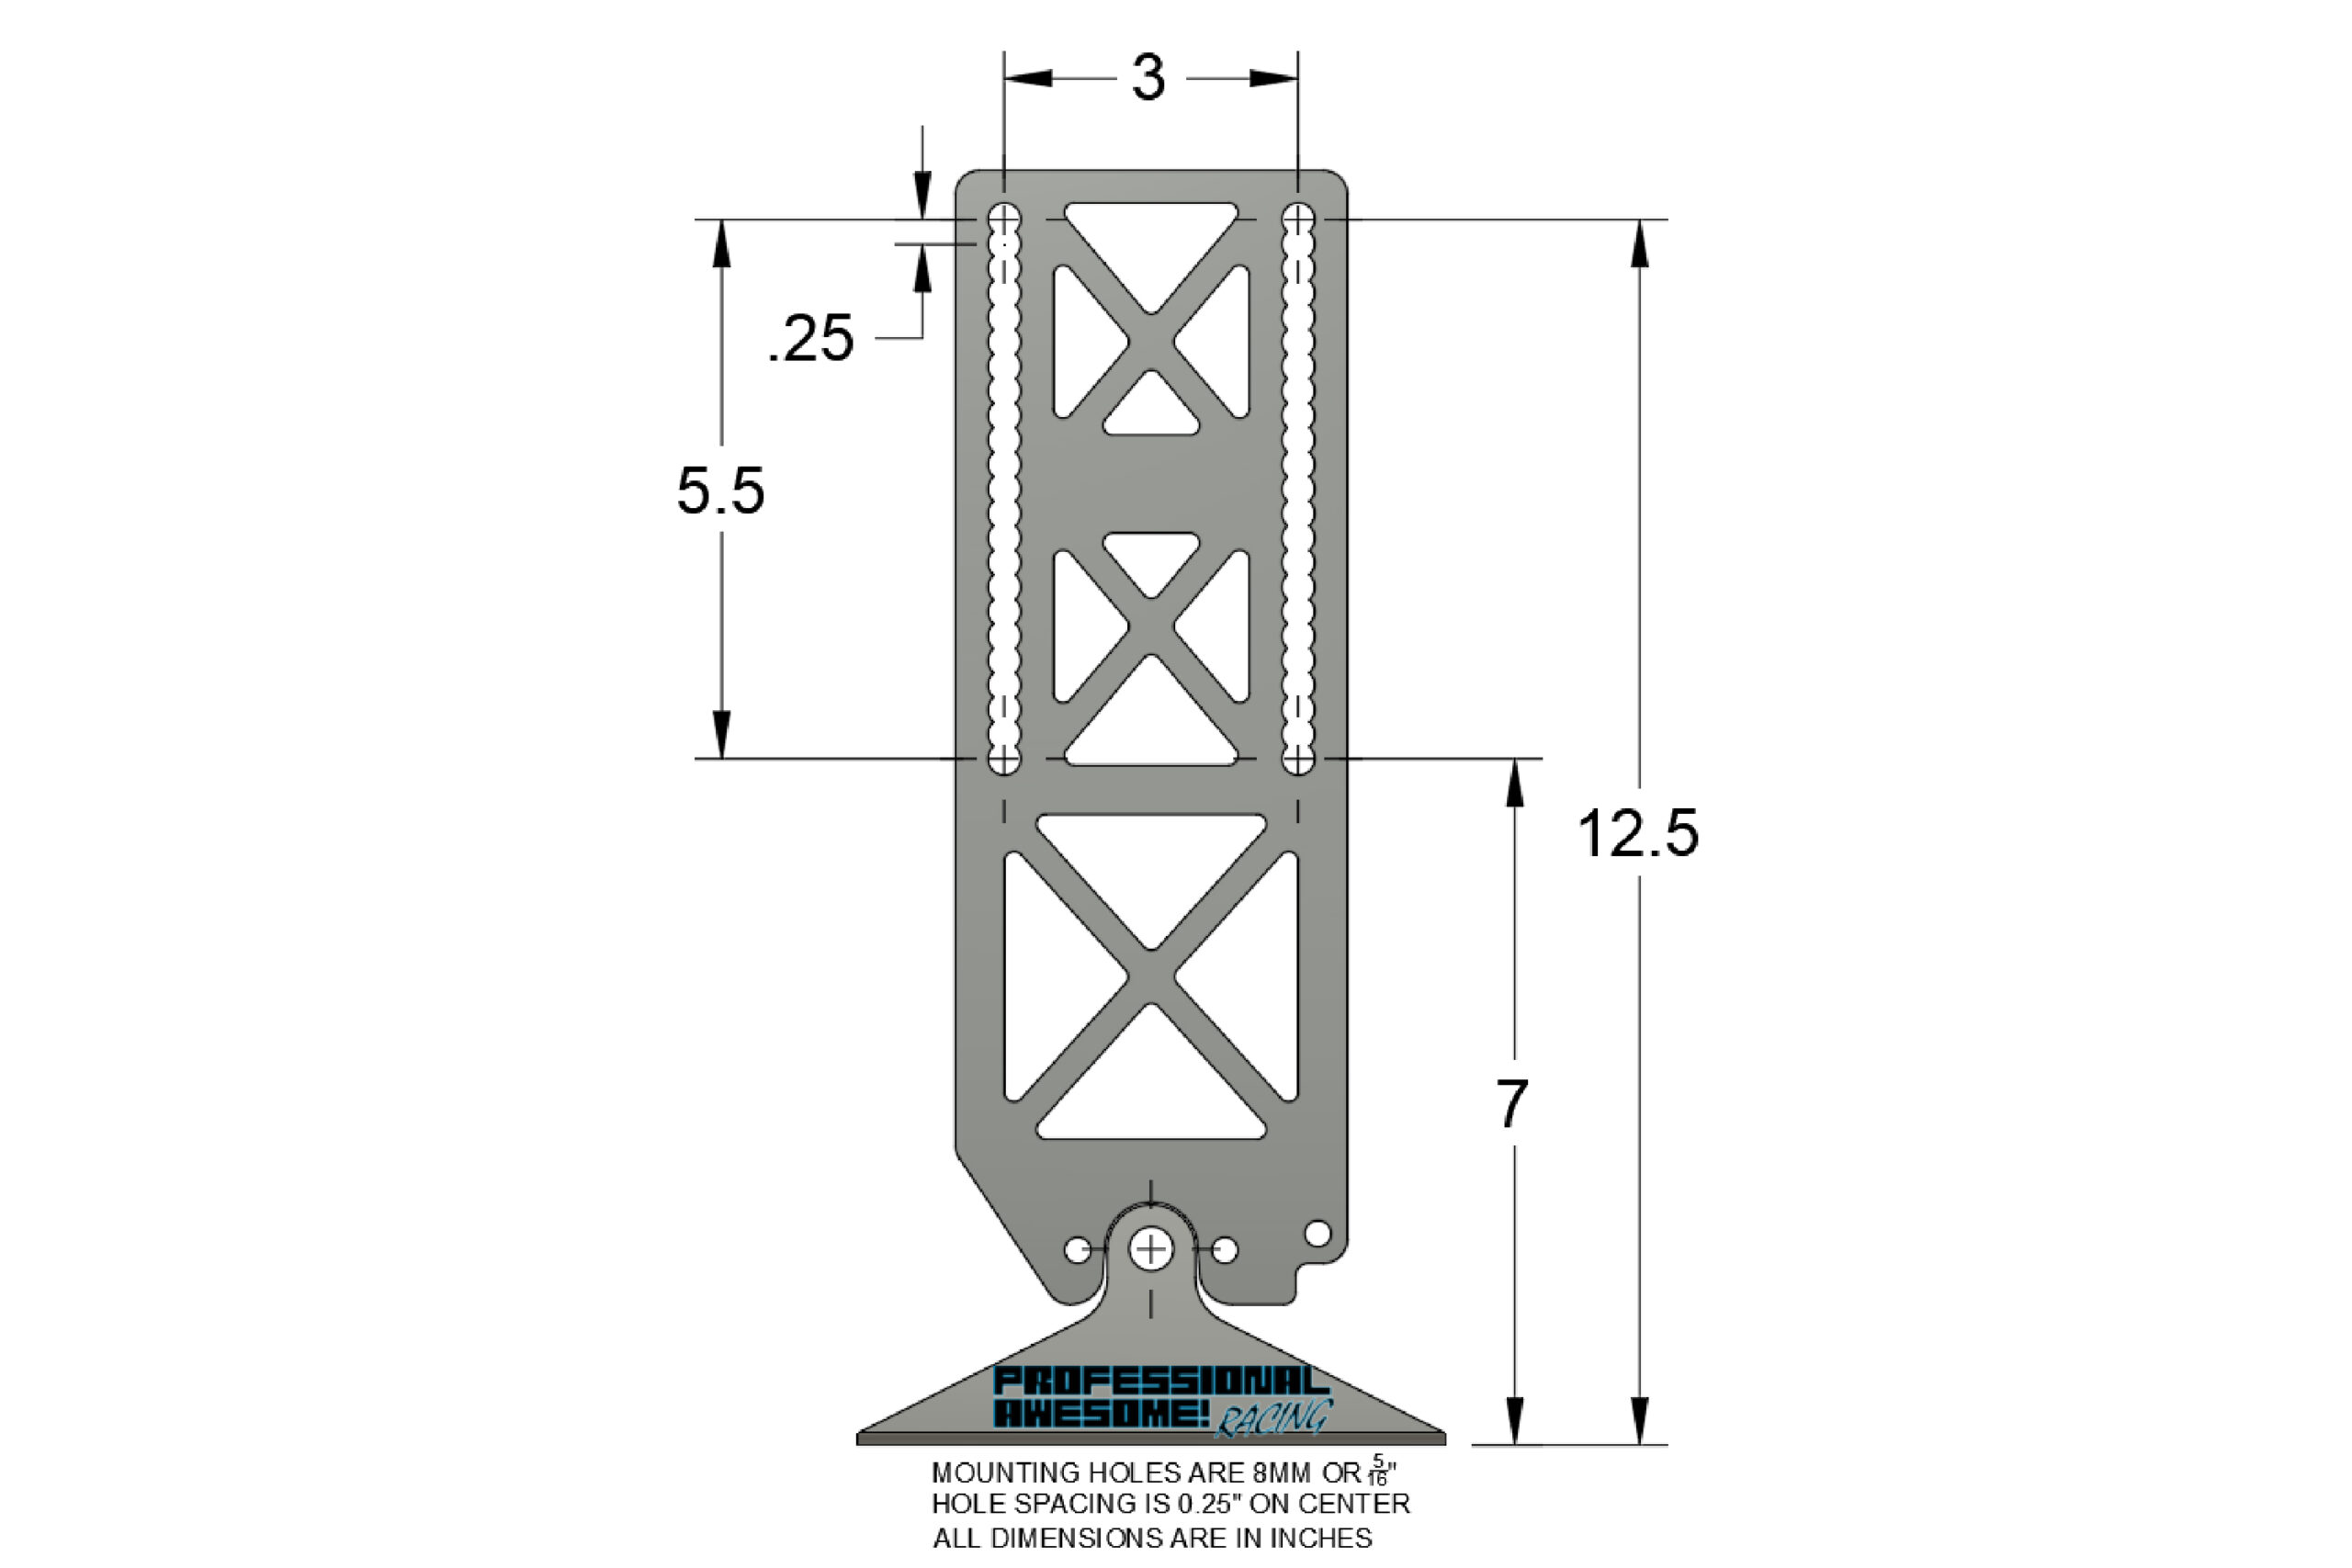
Grab a tape measure before choosing. With the splitter in its planned installed position, measure vertically from the chassis or frame rail mounting area to the top surface of the splitter blade. Choose the shortest mount that can reach this position while placing enough of its M8-sized mounting holes against a suitable chassis structure.
Stubby is 1.5 inches shorter than Short. Its width, thickness, mounting-hole pattern, and slot arrangement are otherwise the same as the Short mount. It is intended for installations with less vertical distance between the chassis mounting area and splitter blade.
We generally mount each aluminum plate with four M8 fasteners. That is a common practice, not a universal requirement or load guarantee. A splitter supported by several other chassis mounts may place much less load through this system than a large splitter relying primarily on the quick release kit and one additional set of supports. The installer must choose the structural mounting points, fasteners, and number of attachment points appropriate for the specific car and expected loads.
2. Pick the Receiver Size
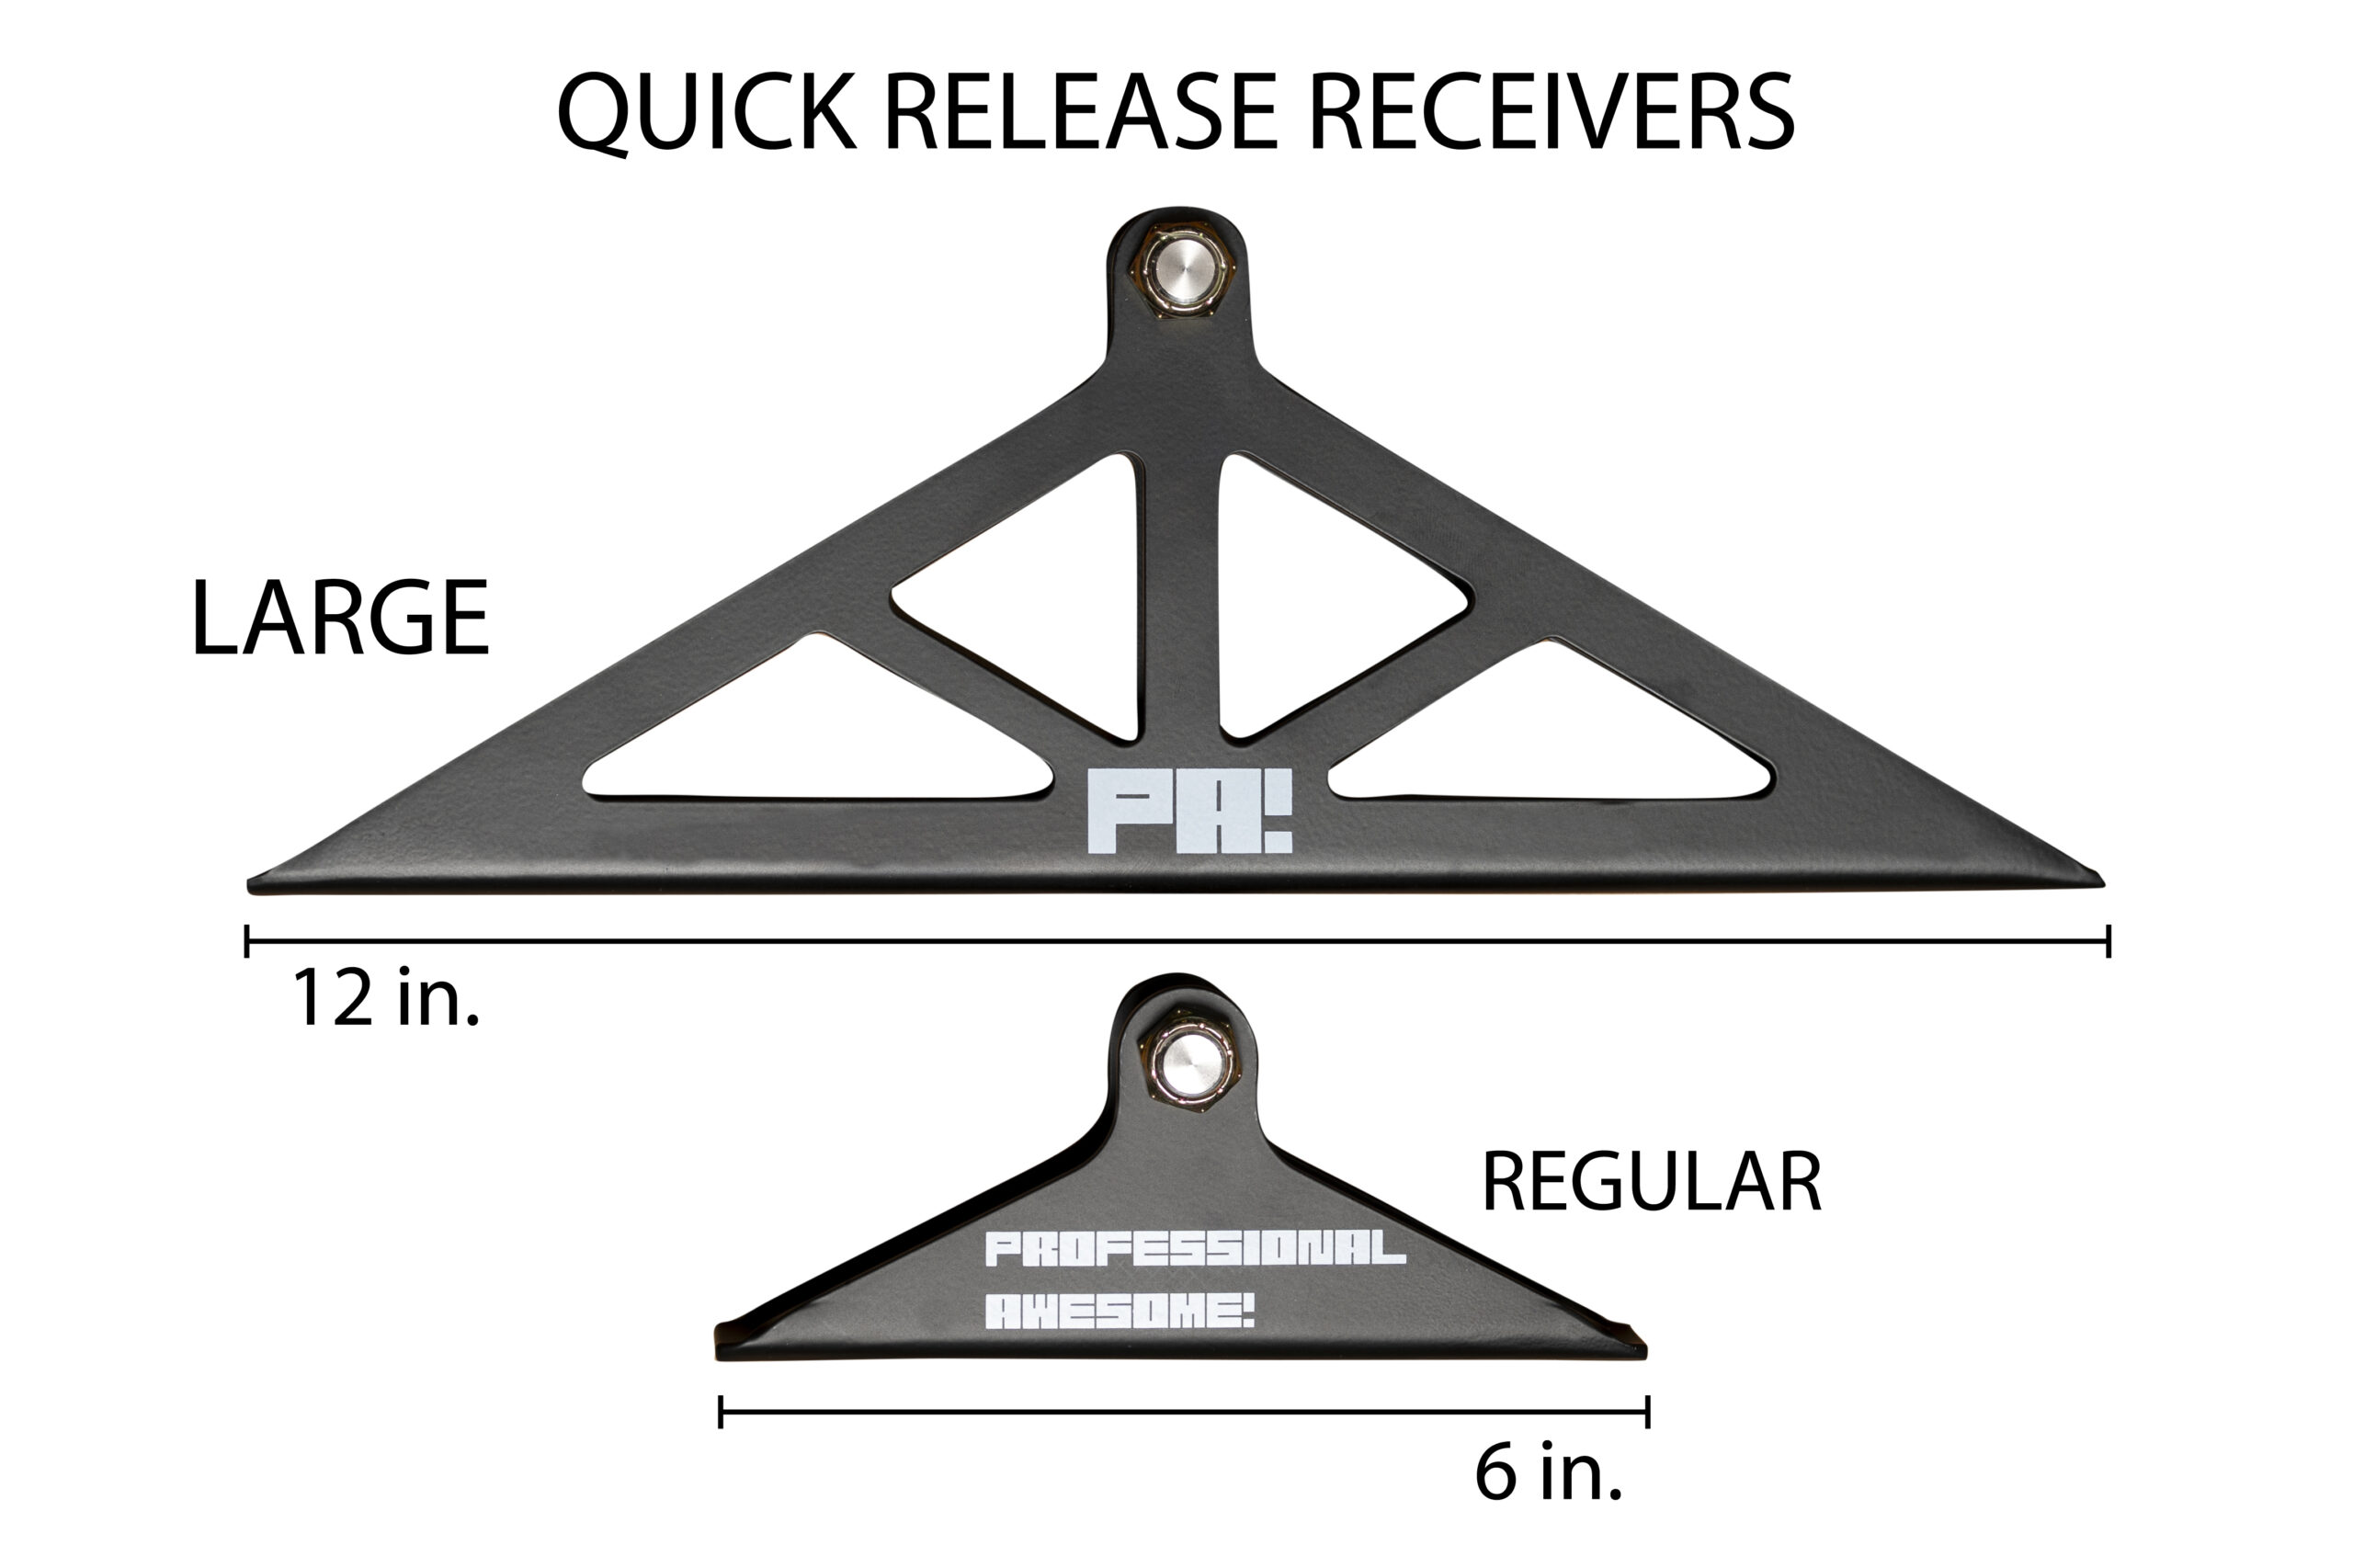
Regular is the best choice for most cars. Choose Large when you need the latch higher inside the vehicle, want more clearance with the splitter removed, or want the receiver load distributed over a wider area of the blade.
| Receiver | Approximate dimensions | When to choose it |
|---|---|---|
| Regular | 6-inch base with the center pin approximately 2 inches above the splitter | The most common choice. Its compact size is easier to package near a bumper. |
| Large | 12-inch base with the center pin approximately 4 inches above the splitter | Moves the latch farther into the vehicle for more ground clearance when the splitter is removed. Its wider footprint offers more mounting locations and greater load distribution, but takes up more space and may require additional modifications to fit. |
3. Decide Whether You Need Spreader Plates
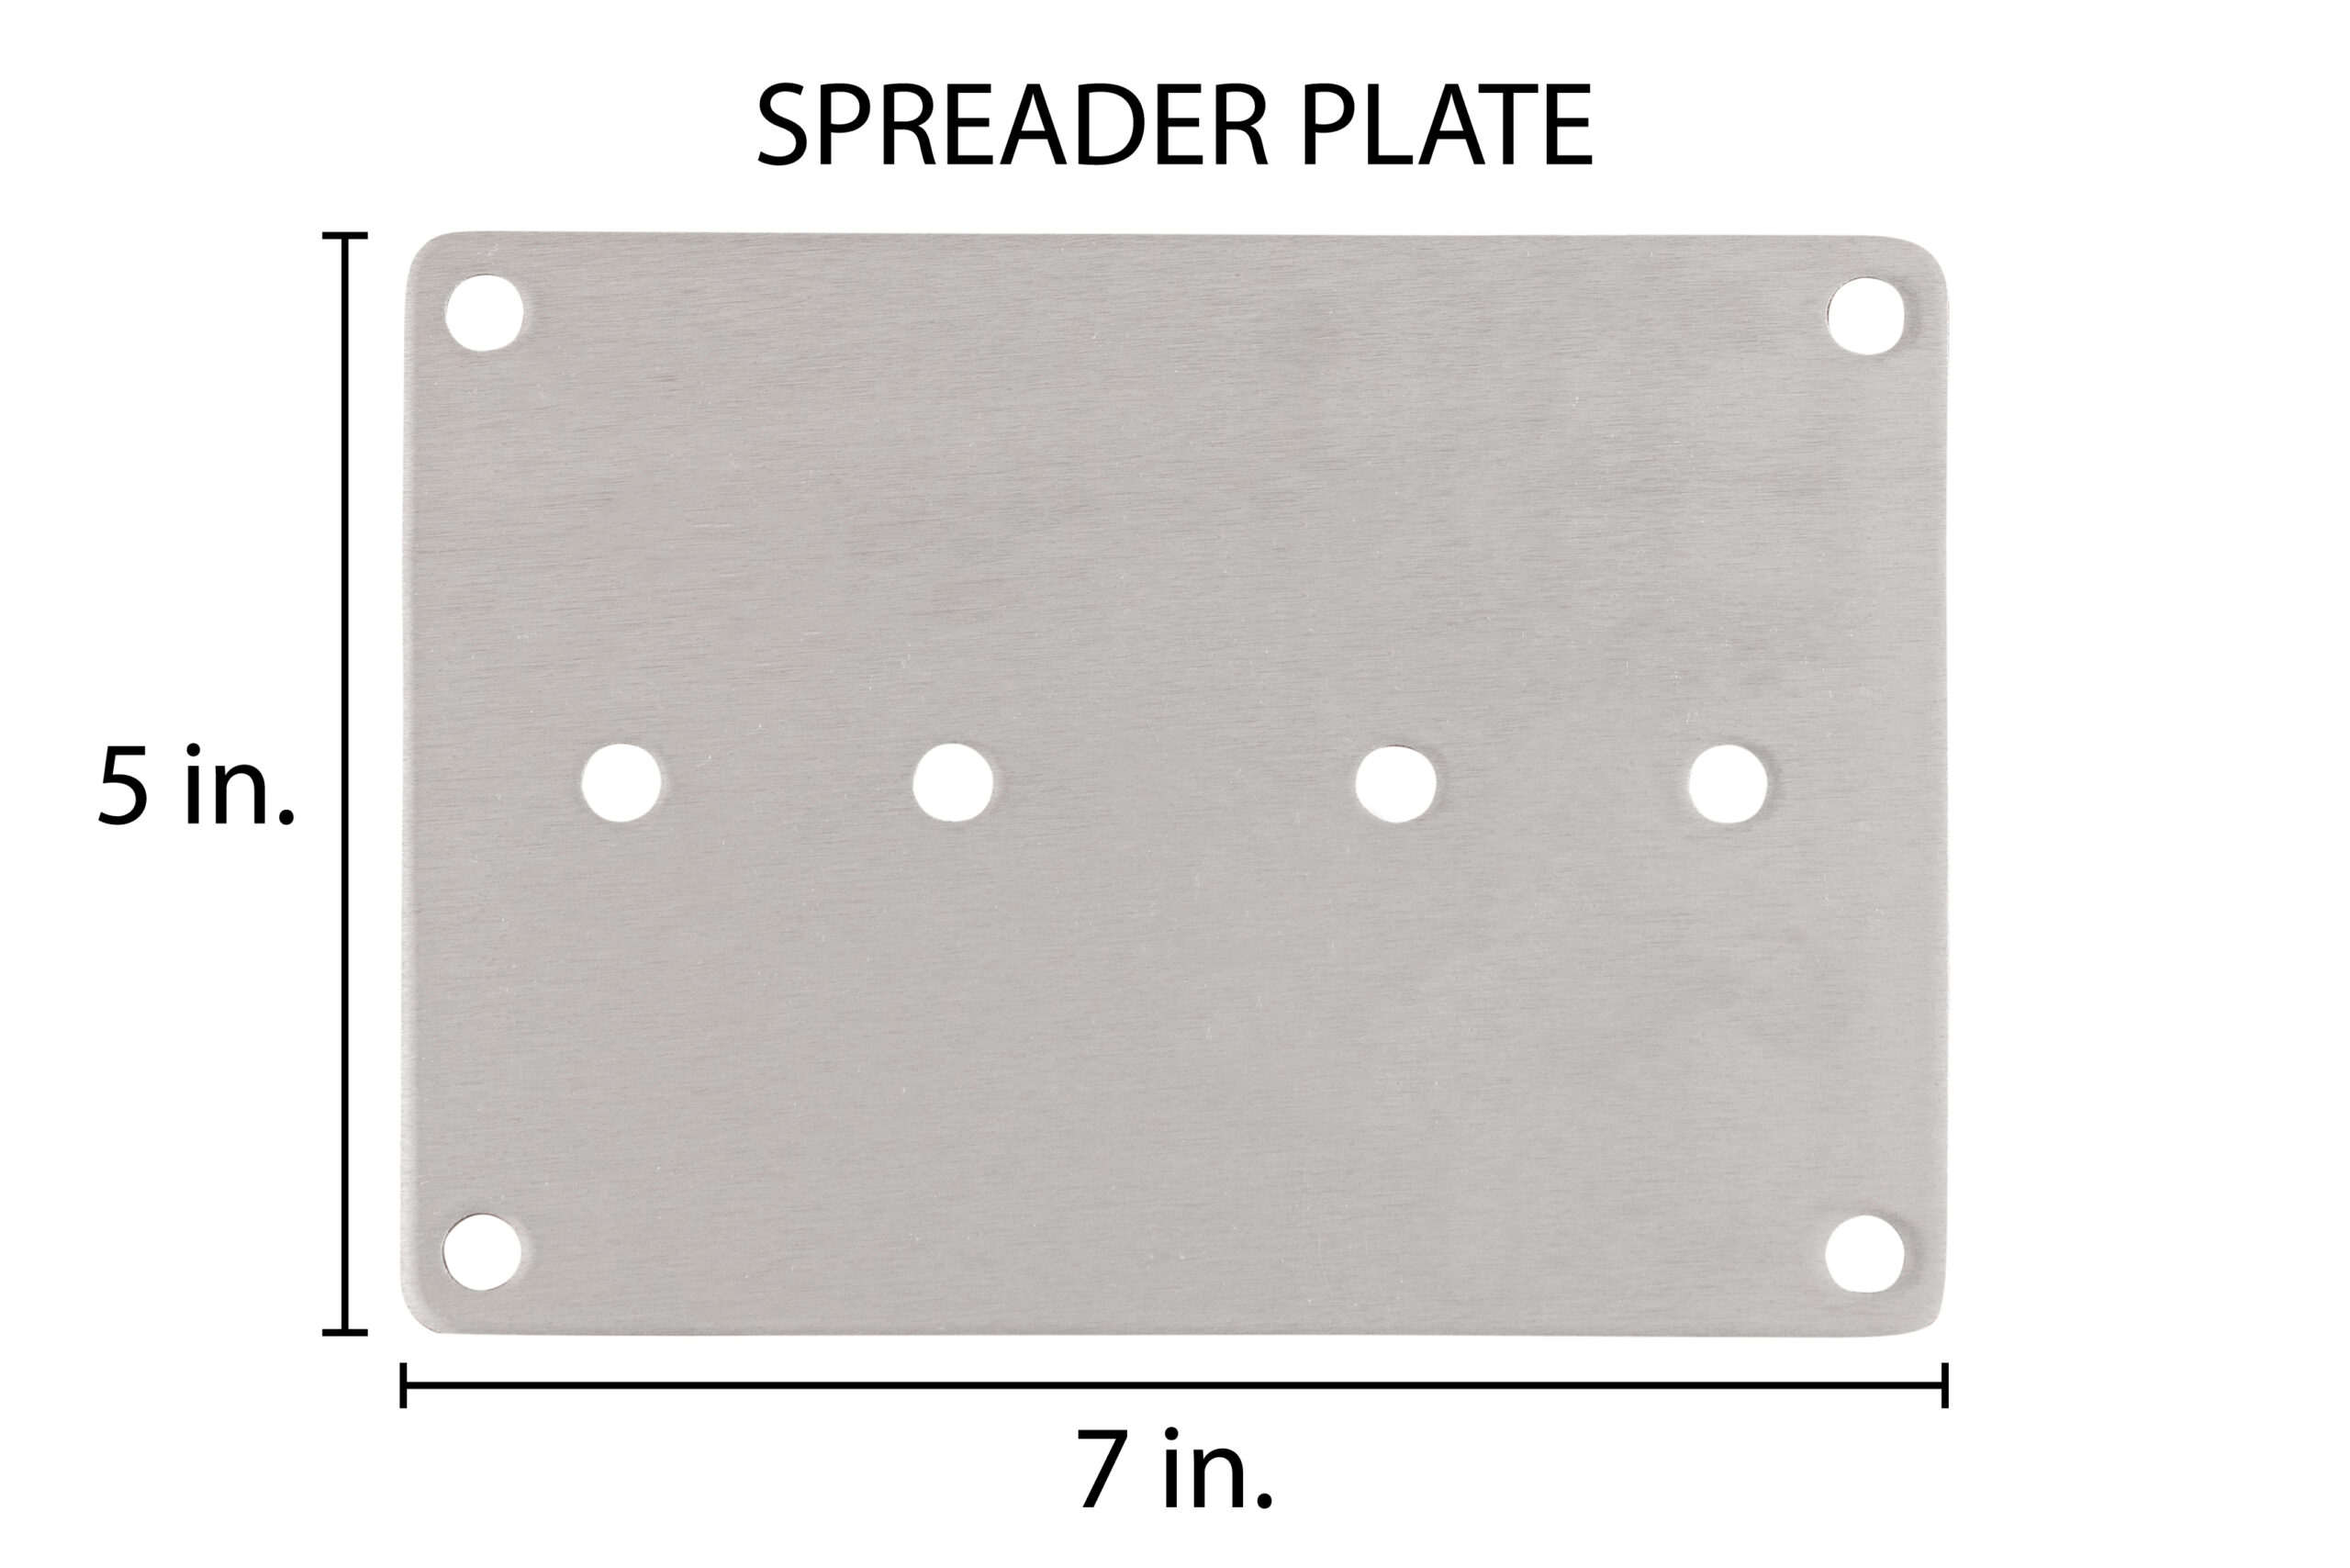
Spreader plates are optional. They distribute each receiver’s load over a larger area of the splitter blade and can be useful when the blade is thinner, more flexible, lower in strength, or made from a material that could be overstressed around a small mounting area.
- One spreader plate is supplied for each receiver, for a total of two plates.
- Spreader plates are available only with the Regular receivers.
- They add 3mm to the receiver mounting stack, so subtract 3mm from the maximum blade thickness listed for your selected hardware.
- Your receiver mounting hardware remains a separate choice. Spreader-plate configurations include hardware for 16 receiver mounting positions unless you select No Receiver Mounting Hardware.
- They are not necessary for every build. Let the splitter material, stiffness, receiver loads, and the rest of the mounting system guide the decision.
4. Choose the Receiver Mounting Hardware
Choose the receiver-to-splitter hardware based on the splitter material and finished blade thickness. Elevator bolts are intended primarily for wood-based splitter blades, where the wide flat head and square shank can seat slightly into the material and resist turning. The 40mm flat-head screws with black aluminum washers are better suited to aluminum, carbon fiber, composites, and other materials that should not be compressed by a square shank.
| Hardware | Recommended application | Maximum blade thickness | With 3mm spreader plates |
|---|---|---|---|
| 30mm Elevator Bolts | Wood-based splitter blades | 14mm | 11mm |
| 35mm Elevator Bolts | Wood-based splitter blades | 19mm | 16mm |
| 40mm Flat Screws + Aluminum Washers | Aluminum, carbon fiber, composites, and other non-wood blades | 16mm | 13mm |
Choose No Receiver Mounting Hardware when supplying specialized fasteners or using hardware already on hand. This choice removes the receiver-to-splitter screws or bolts, washers, and matching nuts only; the latches, receivers, receiver pins, and latch-to-mount hardware remain included.
5. Decide Whether You Need 90-Degree Frame Rail Adapters
Standard mounts attach directly to the side of a frame rail. Select the 90-degree adapter option when the mounts need to attach beneath the frame rail instead. The adapters change the mounting plane from the vertical side of the rail to its horizontal underside.
The adapter option includes two 90-degree aluminum adapters and eight M8-1.25 x 18mm JIS screws for attaching the adapters to the quick release mounts. Hardware for attaching the adapters themselves to the vehicle’s frame rails is not included because the required fasteners and mounting structure vary by car.

Choose How You Want to Release the Splitter
Each latch has a release lever with a hole that can accept a cable or pull rod. If the levers are accessible, you can simply operate them directly and skip a remote release mechanism.
How simple or creative you want to get is up to you. A remote setup can use separate controls for the two latches, or a carefully designed single control can actuate both. Because every car packages this differently, cables, pull rods, remote handles, and their brackets are not included. The Customer Installs gallery is a useful source of ideas for designing a release around your chassis and bodywork.
What Is Included
Here is what will arrive with the selected configuration:
- 2 adjustable aluminum chassis mounts in your selected length
- 2 latches, one left and one right
- 2 splitter receivers in your selected size, each with a stainless steel pin
- M6 x 1.00 hardware for attaching the latches to the aluminum mounts
- Your selected receiver mounting hardware for 4 mounting positions with Regular receivers, 8 with Large receivers, or 16 with Regular receivers and spreader plates. Elevator-bolt and flat-screw selections include matching nyloc nuts; flat-screw selections also include black aluminum washers.
- If selected, 2 spreader plates
- If selected, 2 frame rail adapters and 8 M8-1.25 x 18mm JIS screws for attaching the adapters to the quick release mounts
Selecting No Receiver Mounting Hardware removes only the receiver-to-splitter fasteners, washers, and nuts from the kit.
What You Will Need to Supply
- Suitable hardware for attaching the mounts directly to the side of the chassis or frame rails, or for attaching the 90-degree adapters beneath the frame rails
- At least one additional rigid splitter mounting system that controls rotation in both directions
- Any vehicle-specific brackets or fabrication your installation requires
- If desired, cables or pull rods, remote handles, and their mounting hardware
Installing and Inspecting the System
The parts are straightforward, but this is still a loaded aerodynamic system and every universal installation is different. Take your time, dry-fit everything, and make sure the load enters a real chassis structure rather than a cosmetic panel.
- Attach the aluminum mounts directly to suitable structural locations on the side of the chassis or frame rails. If using the 90-degree adapters, attach the adapters beneath the frame rails and connect the aluminum mounts using the included M8 JIS screws.
- Align the latches and receivers so both pins enter cleanly and both latches close positively without binding.
- Install at least one additional rigid support and confirm that the splitter cannot rotate in either direction around the receiver pins.
- Confirm that the release levers move freely and that any cable, pull rod, or remote control clears nearby bodywork and cannot release unintentionally.
- Perform a thorough nut-and-bolt check before and after every event. Inspect the complete system again after a splitter impact or off-track excursion.
Correct any looseness, deformation, cracking, interference, incomplete latch engagement, or heavily worn component before the car returns to the track. Individual aluminum mounts, latches, receivers, spreader plates, hardware, and support rod components are available in our Splitter Mount and Support Rod Spare Parts category.
A final safety note: Chassis attachment, splitter stiffness, installation quality, vehicle speed, and total aerodynamic load all affect how this system performs. If you are uncertain about the mounting structure or hardware selection, contact Professional Awesome with measurements and clear photos before installation. We would rather help you plan it correctly than sell you something you do not need.
Prefer to Watch? Start Here
These videos show the system being installed, removed, and used on the car. Start with the installation video, then watch the removal examples to see how quickly the splitter can come off once everything is set up.



Lance Magrath (verified owner) –
If you are considering getting these, just do it. Saves so much time and effort and your back will thank you.
Jared (verified owner) –
Fantastic product and solid build quality, absolutely no regrets moving to a quick release style mount for the splitter. Its gonna save so much time in track side servicing and loading/unloading from the trailer. PA was also a huge help in getting my design dialed in for mounting the universal kits to my chassis, and after some in-depth design conversations I fully trust their brackets and releases to do the job and take the abuse.